Tag Archives: crochet stitch

Crochet Temperature Blankets: Picking Stitch Patterns & Yarn Storage

Temperature blankets are a crocheted record of the weather over a given time period in a given area. The great thing about temperature blankets is that you can pick any colors, yarn, stitch pattern and time span that you want. In this post, we’re talking about how to pick what crochet stitch pattern (or blanket pattern) to use for your temperature blanket, as well as sharing some storage ideas for your year-long WIP.
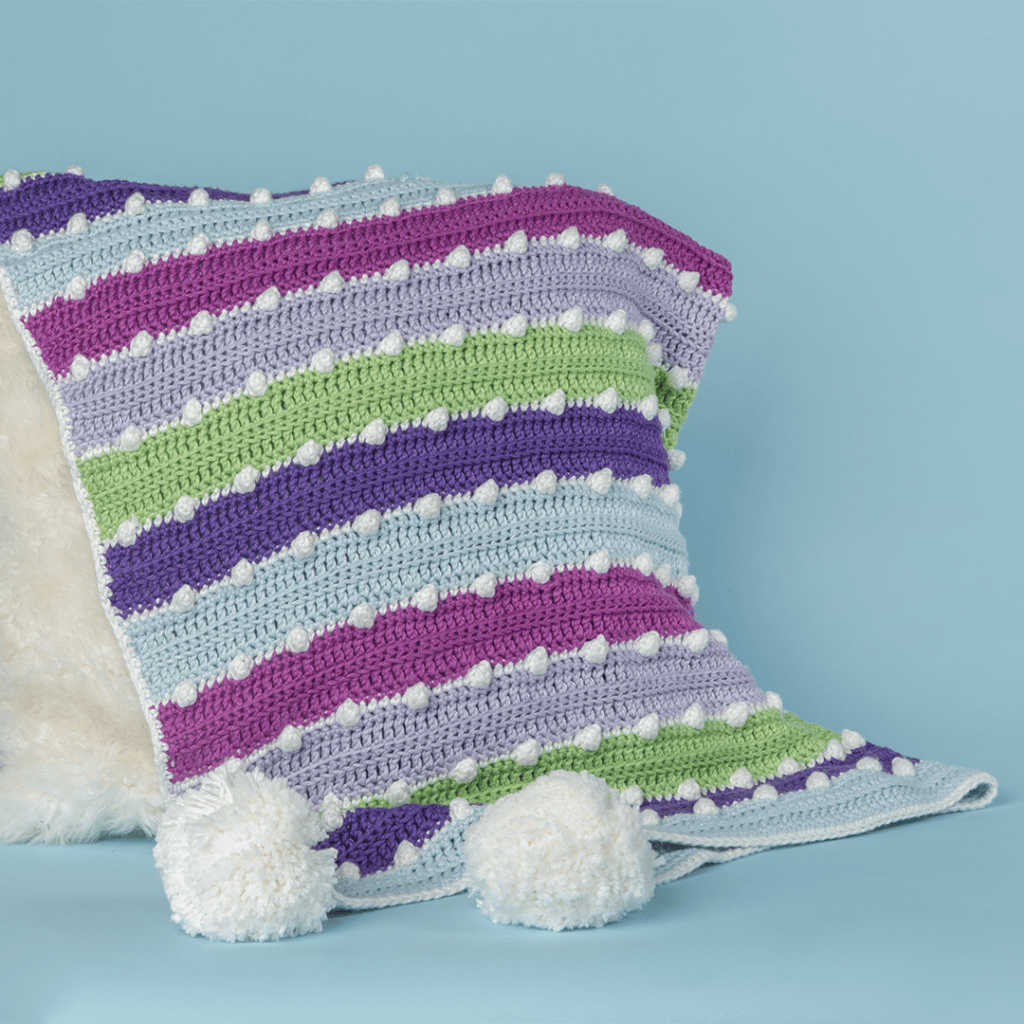
Holiday lights blanket shown draped over a fur pillow, a free crochet pattern from crochet.com
Holiday Lights Blanket: This pattern could be used for a temperature blanket.

Join our 2021 Temperature Blanket Crochet Along.

You might have thought that picking the yarn, or choosing the location and the date were the hard decisions. Now you will need to think about what crochet stitch pattern (or blanket pattern) you want to use. Most of the time a temperature blanket is made with single crochet, row after row showing the temperature for each day for 365 rows. Don’t be afraid to step outside of the box and try one of these suggestions for the stitch pattern to use on your temperature blanket.

Check out: Crocheting a Temperature Blanket for an overview of the whole planning process.

Crochet Stitch Pattern Ideas for Temperature Blankets

With so many options of stitches for your blanket you need to consider a few things. To keep your blanket from getting too long and still recording all 365 days, think about using a shorter stitch. (Think about how long 365 rows will be!)

Typically we aren’t as worried about gauge for a blanket pattern but in this case a gauge swatch will tell you so much about your project. A swatch will tell you the drape you will have and help you figure out the finished measurements of your blanket based on the number of total rows you will make.
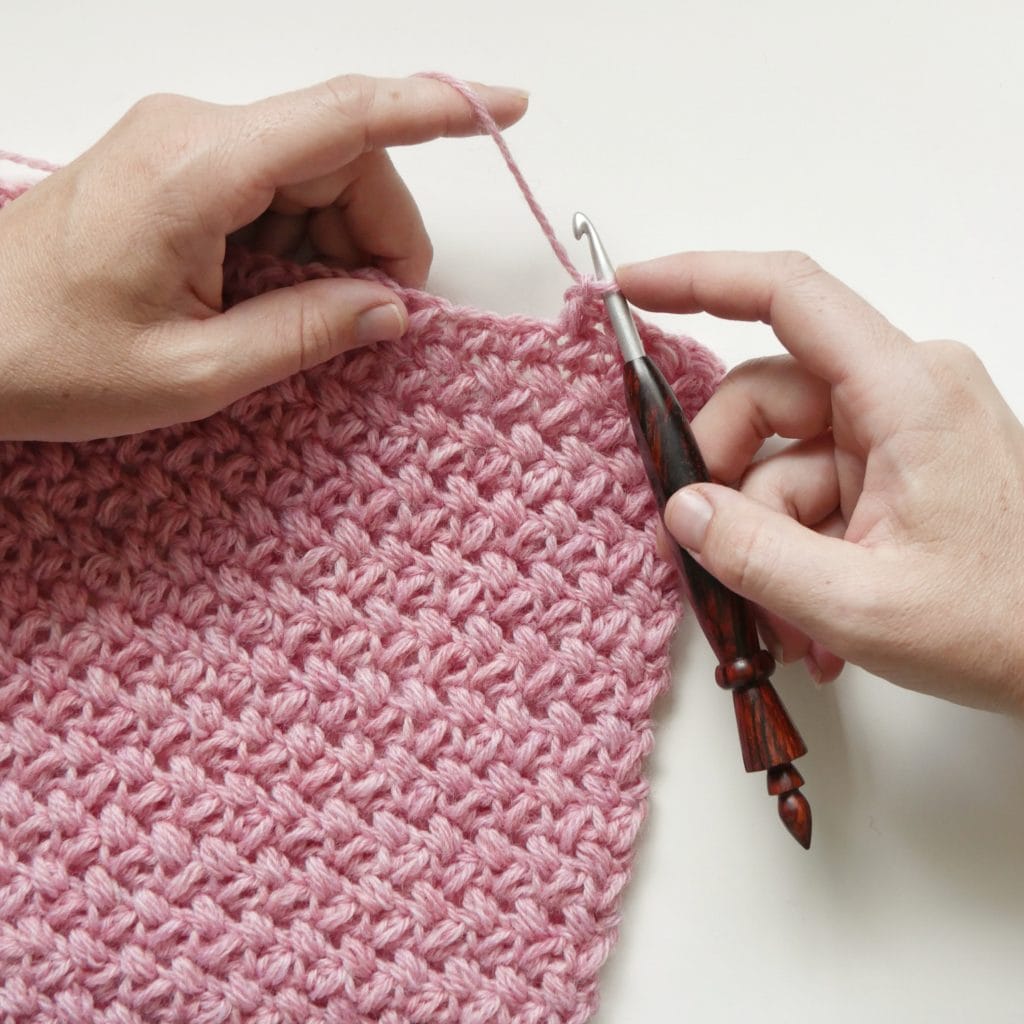
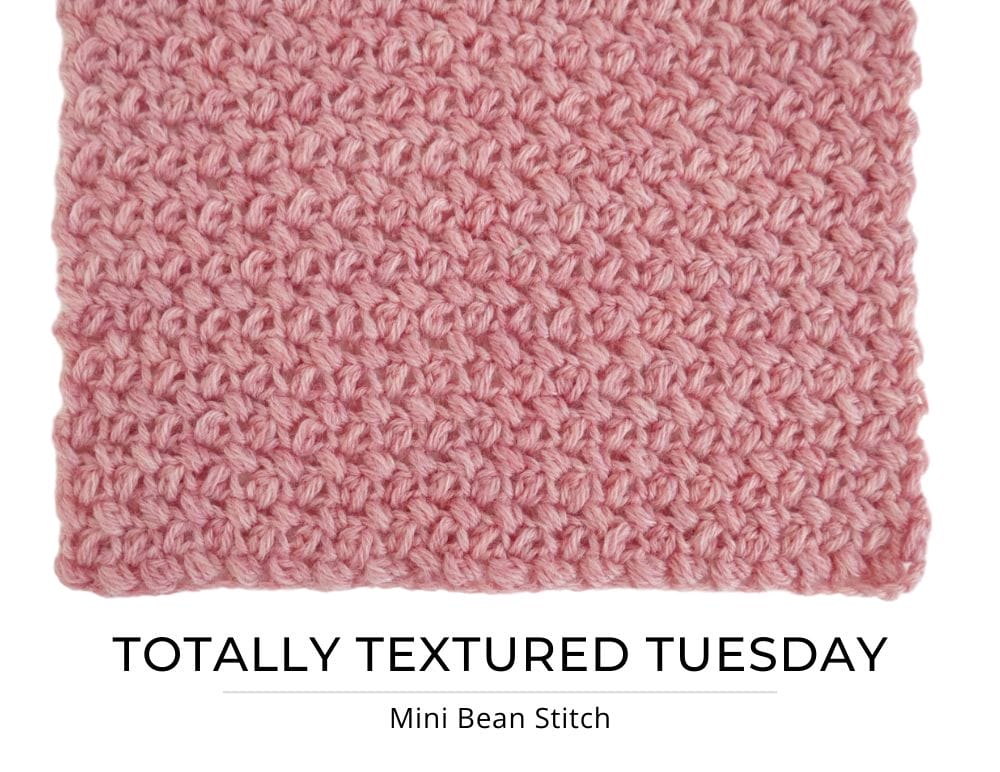
Mini Bean Stitch
Learn the Mini Bean Stitch

Here are some suggestions of shorter stitches for your temperature blanket.

If you prefer to work something other than straight lines you could use one of the following techniques.

Or, try a new stitch from our Totally Textured Stitch Tutorials!

Project Storage: How to Store a Crochet Temperature Blanket WIP

Temperature blankets are large projects which require a lot of yarn and will continue to grow as you work it. This means that you will need a great storage system for your project. If you are working on squares/motifs or on long stripes/scarves it will be much easier to take your project with you. Otherwise, consider this to be a project that stays at home so you don’t have to worry about missing colors.
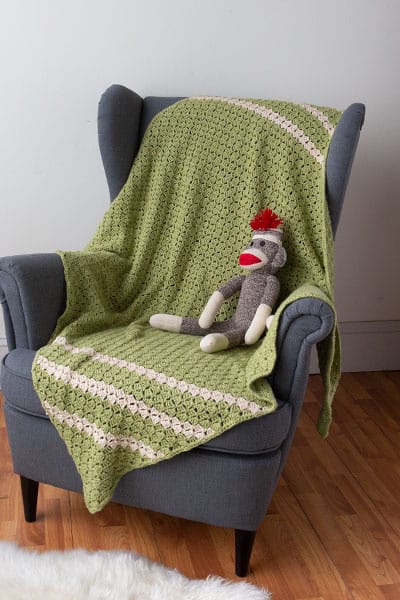
Special Delivery Baby Blanket, a Corner2Corner crochet blanket pattern
Special Delivery Baby Blanket: A C2C blanket pattern

If you DO want to make your Temp blanket project mobile, the WeCrochet Tote Bag is always a great storage option! These bags are larger than you might think and can fit a full sweater inside. You will have plenty of room for your yarn, notions and anything else you might need to keep with you for this project, at least for the first several months of the year!

Our Yarn & Crafts Carry Along is another great storage idea. Not only can you see what you have but it also folds flat for storage when you are finished. A great option to be able to see what colors you still have left and what you need to restock. Grab two and have one for your warm colors and one for your cooler colors.

Five mini yarn hanks in a see-through zip-top project bag.
Zippered project bags come in multiple sizes

Another great see through option is the Zippered Project Bags. These are clear bags that let you see what you have inside, making it easy to know what yarn you have and what you might need to stock up on. This bag comes in a few different sizes making it a great go to project bag.

So, are you ready to start your temperature blanket? What stitch will you use? How will you store your WIP?

If you haven’t already, please join our 2021 Temperature Blanket Crochet Along, and read the other posts in this series:


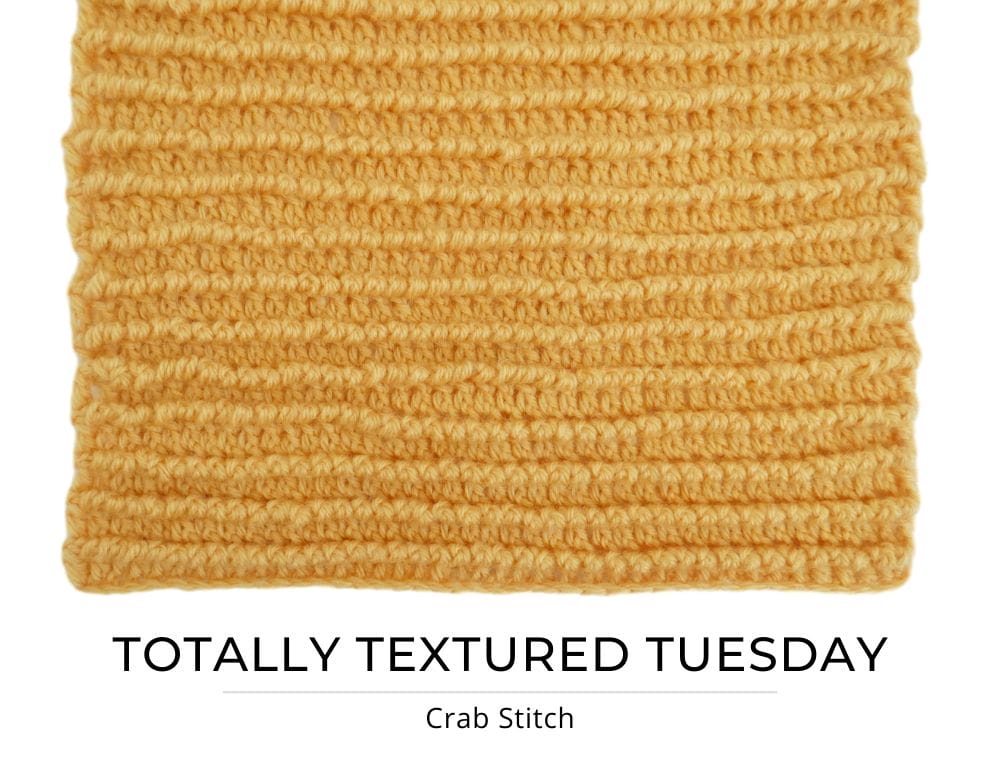
HOW TO CROCHET CRAB STITCH: TOTALLY TEXTURED TUESDAY
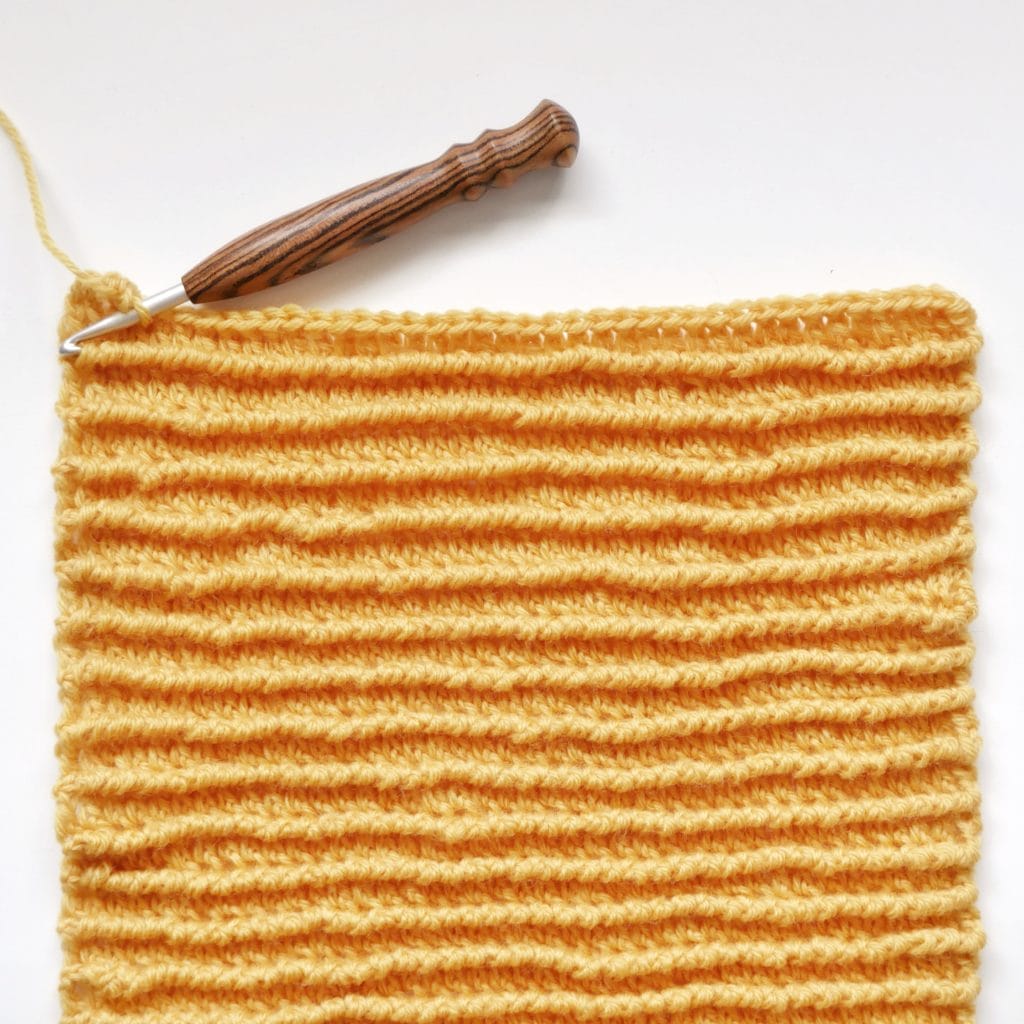
A bright yellow crochet swatch with a horizontal ribbed texture on a white background. Below, text says "Totally Textured Tuesday: Crab Stitch."

This week we are learning to crochet the Crab Stitch. This is the final stitch in our Totally Textured Tuesday series, where you’ve learned a new crochet stitch every week!

BQUEEN COLLECTION #TOTALLYTEXTUREDTUESDAY

Hi again! Makenzie from BQueen Collection sharing another Totally Textured Tuesday stitch for our 12 week series of fantastic stitches that are great for texture. It’s our last week and I have a good one to finish this out! Here’s what we’ve learned so far:

Week 1: Single Crochet Back Loop Only (sc BLO)

Week 2: Blanket Stitch

Week 3: Even Moss Stitch

Week 4: Mini Basket Weave

Week 5: Bar Stitch

Week 6: Even Berry Stitch

Week 7: HDC FL + BL

Week 8: DC Cluster

Week 9: Mini Bean Stitch

Week 10: Alpine Stitch

Week 11: Wave Stitch

WEEK 12: Crochet CRAB STITCH

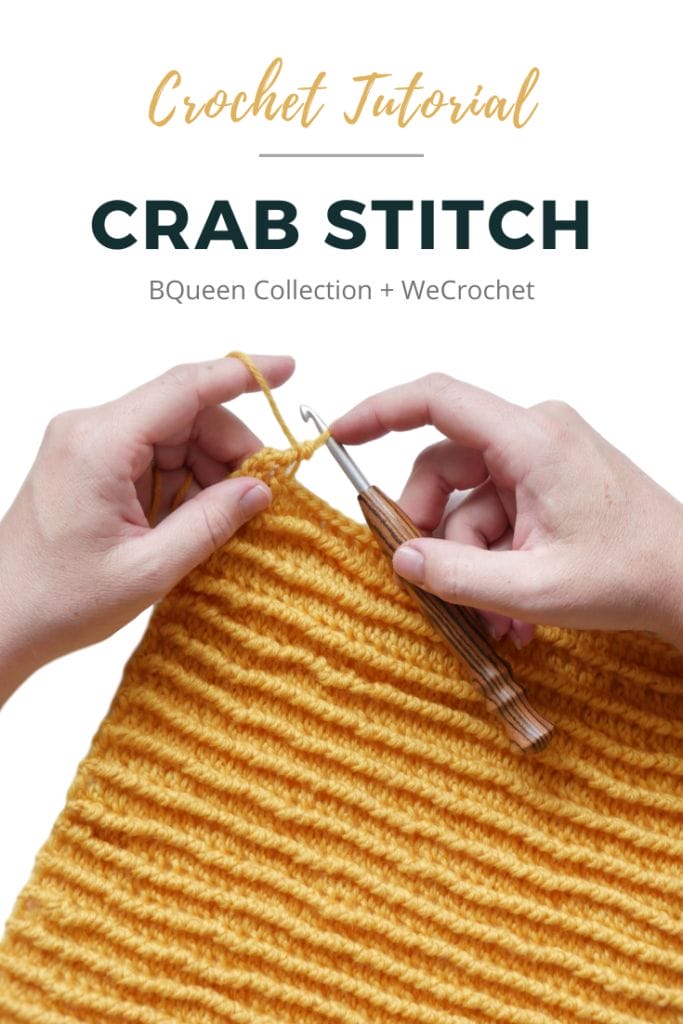
Hands crocheting with a striped wooden hook onto a bright yellow crochet swatch with a horizontal ribbed texture on a white background.

The crab stitch is the most difficult stitch of the series, I’d say. If you’ve made it this far, this one is for you. I want to challenge you because that is experience and growth. The crab stitch is most commonly used as a decorative edging, and gives your crochet edges a finished look.

The crab stitch is a little tedious and backwards – no, I mean literally it’s worked backwards. Let’s take a look!

We want to see it! If you try any of the stitches with us during the series, tag us @WeCrochetOfficial and @BQueenCollection AND use #totallytexturedtuesday so we can share!

MATERIALS

A striped wooden hook is set on top of  a bright yellow crochet swatch with a horizontal ribbed texture on a white background.

Any yarn or hook will do, but here is what I am using:

ABBREVIATIONS

  • ch: chain
  • rep: repeat
  • st(s): stitch(es)
  • RS: right side
  • WS: wrong side
  • sc: single crochet
  • dc: double crochet
  • flo: front loop only
  • blo: back loop only
  • yo: yarn over
  • rsc flo: reverse single crochet front loop only; working in the opposite direction as normal, swing your hook counterclockwise and up into the last single crochet just worked in the flo, yo, draw a loop through, yo and draw through 2 loops
  • CSDC: chainless starting double crochet (this substitutes a chain three turning chain for the beginning of every row, which if you’re not familiar with – check it out HERE.)

INSTRUCTIONS

The corner of a bright yellow crochet swatch with a horizontal ribbed texture on a white background.

Multiple: Any

Row 1 (RS): Chain to desired length, dc in 4th ch from hook and each ch across, ch1. Do not turn.

Row 2 (RS): Rsc flo across row. Do not turn.

Row 3: CSDC, dc blo in each st across, ch1. Do not turn.

Repeat Rows 2- 3 until desired measurement.

We’ve wrapped up our last stitch for the 12 week Totally Textured Tuesday series. Thank you for joining me and I wish you the happiest of crocheting!

Headline at the top on a white background: "Crochet Tutorial: Crab Stitch. BQueen Collection + WeCrochet." Below: Hands crocheting with a striped wooden hook onto a bright yellow crochet swatch with a horizontal ribbed texture.
a photo of Makenzie of BQueen and her husband

Hi! I’m Makenzie from BQueen Collection and my husband I make custom wood crochet hooks while I also dabble in pattern design. We live in eastern Colorado, enjoy fishing and the outdoors, and have three young boys who keep us very busy (plus eight chickens because we eat soooo many eggs). We’d love to connect – follow us on Instagram @bqueencollection and see what we’re up to!


HOW TO CROCHET Wave Stitch: TOTALLY TEXTURED TUESDAY
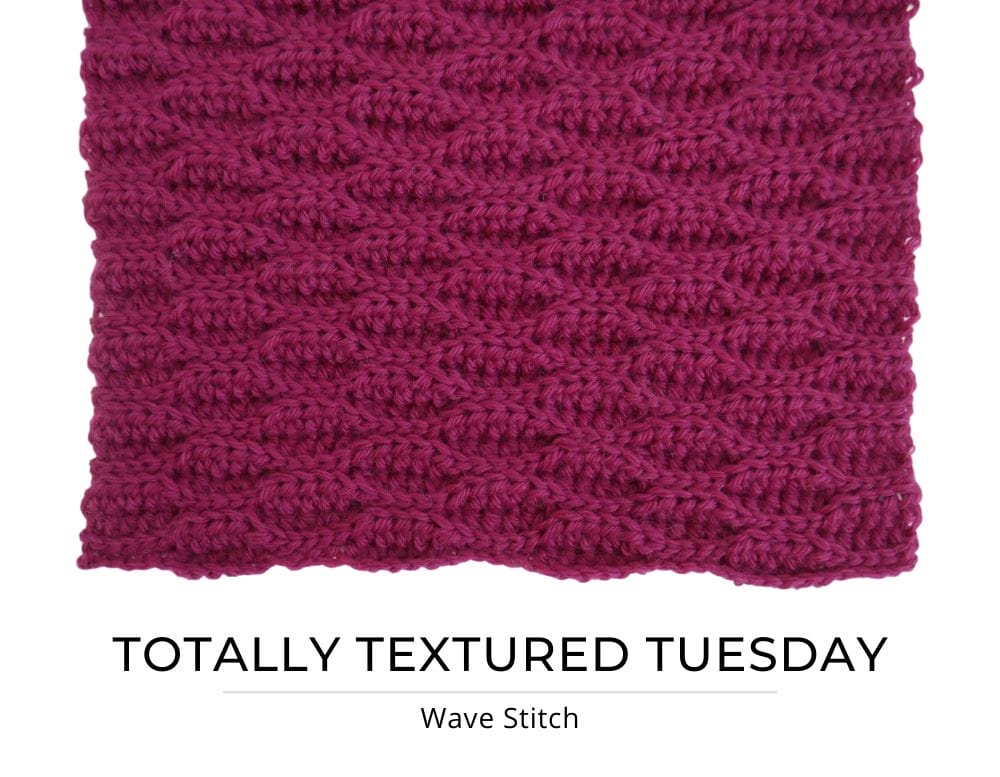
A bright pink/fuchsia crochet swatch with an intriguing wave-like texture on a white background. Below, text says "Totally Textured Tuesday: Wave Stitch."

This week we are learning to crochet the Wave Stitch. Join us for our Totally Textured Tuesday series, where you’ll learn a new crochet stitch every week!

BQUEEN COLLECTION #TOTALLYTEXTUREDTUESDAY

Hi again! Makenzie from BQueen Collection sharing another Totally Textured Tuesday stitch for our 12 week series of fantastic stitches that are great for texture. We have just two weeks left in this gig! Here’s a recap:

Week 1: Single Crochet Back Loop Only (sc BLO)

Week 2: Blanket Stitch

Week 3: Even Moss Stitch

Week 4: Mini Basket Weave

Week 5: Bar Stitch

Week 6: Even Berry Stitch

Week 7: HDC FL + BL

Week 8: DC Cluster

Week 9: Mini Bean Stitch

Week 10: Alpine Stitch

WEEK 11: Crochet WAVE STITCH

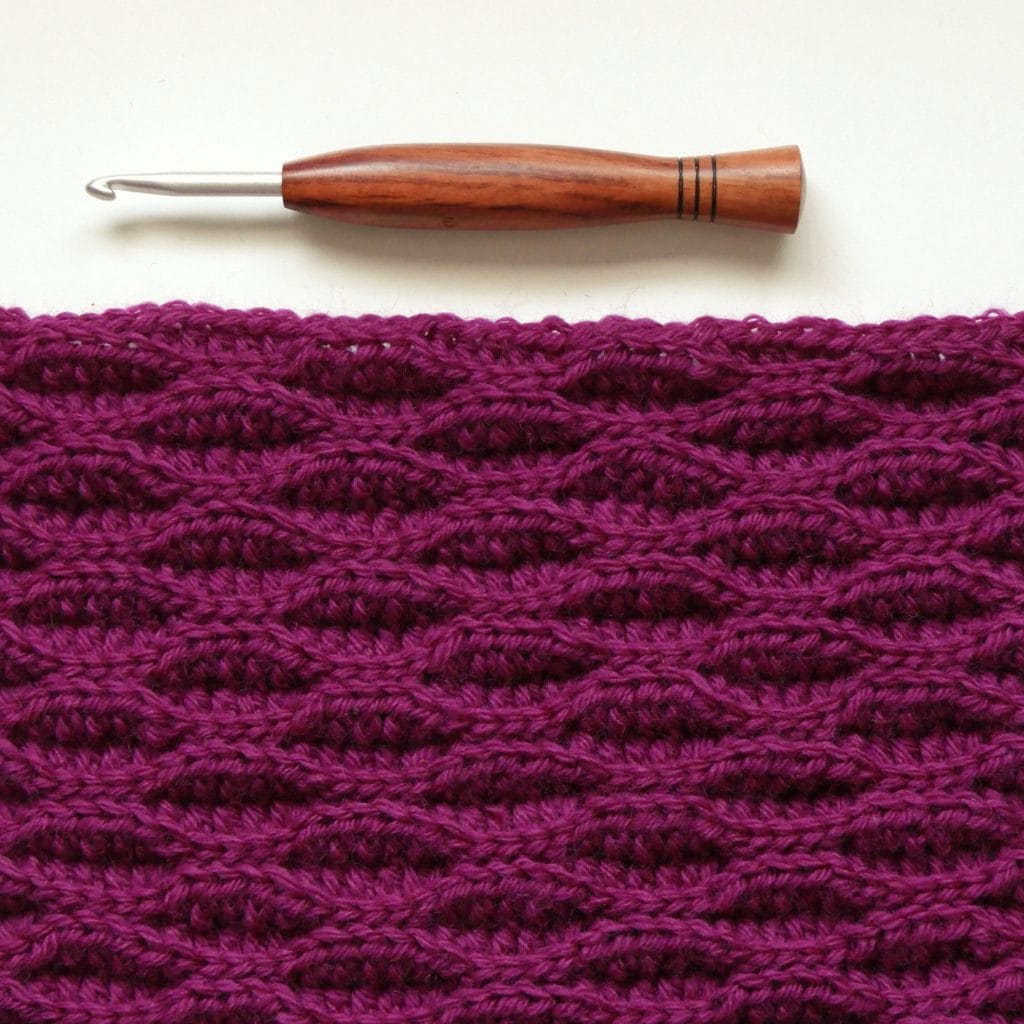
A wood-handled crochet hook sits above a bright pink/fuchsia crochet swatch with an intriguing wave-like texture on a white background.

Although it looks tricky, the wave stitch is eye-catching and not difficult. If you can slip stitch and half double crochet, you can do this stitch.. It looks technical, but we all know looks can be very, very deceiving. #amiright?

We want to see it! If you try any of the stitches with us during the series, tag us @WeCrochetOfficial and @BQueenCollection AND use #totallytexturedtuesday so we can share!

MATERIALS

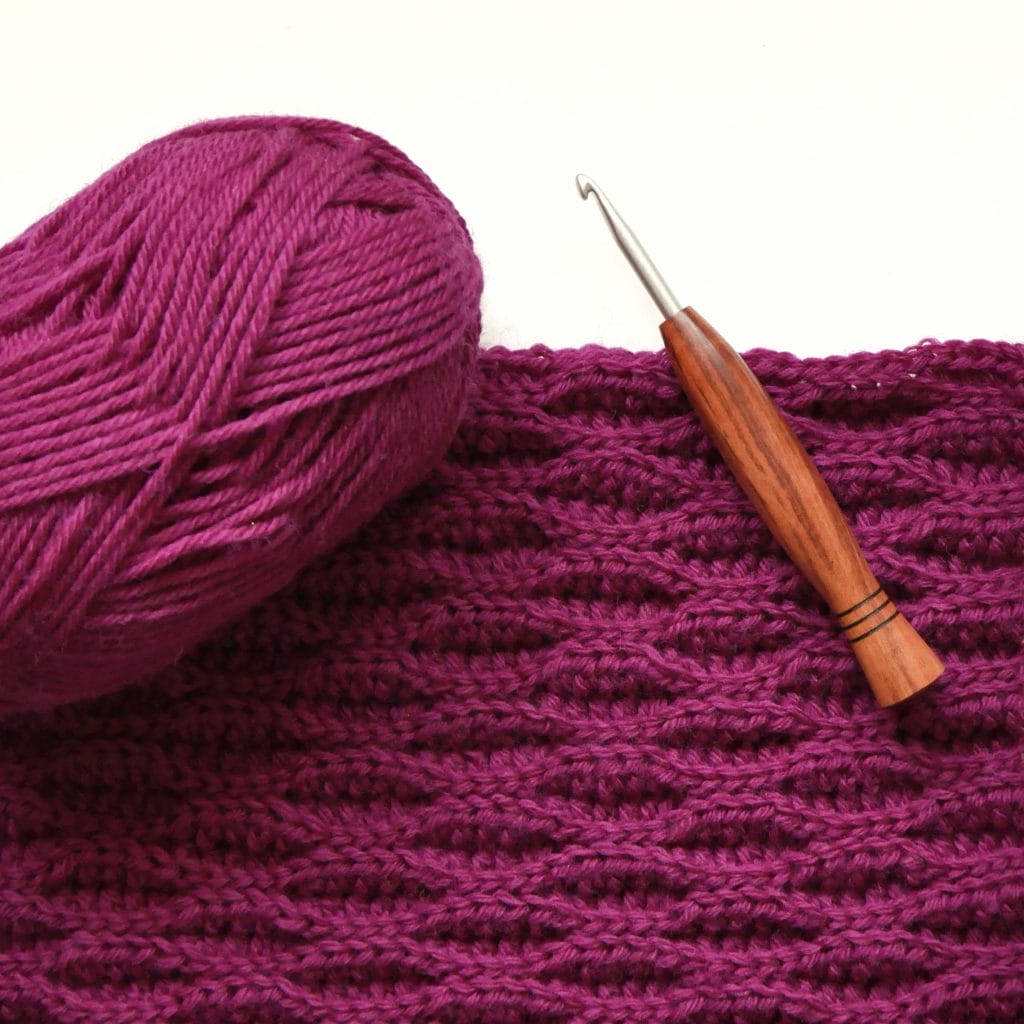
A ball of bright pink/fuchsia ball of yarn and a wood-handled crochet hook sits atop a bright pink/fuchsia crochet swatch with an intriguing wave-like texture on a white background.

Any yarn or hook will do, but here is what I am using:

ABBREVIATIONS

  • ch: chain
  • rep: repeat
  • st(s): stitch(es)
  • RS: right side
  • WS: wrong side
  • sl st: slip stitch
  • hdc: half double crochet
  • blo: back loop only
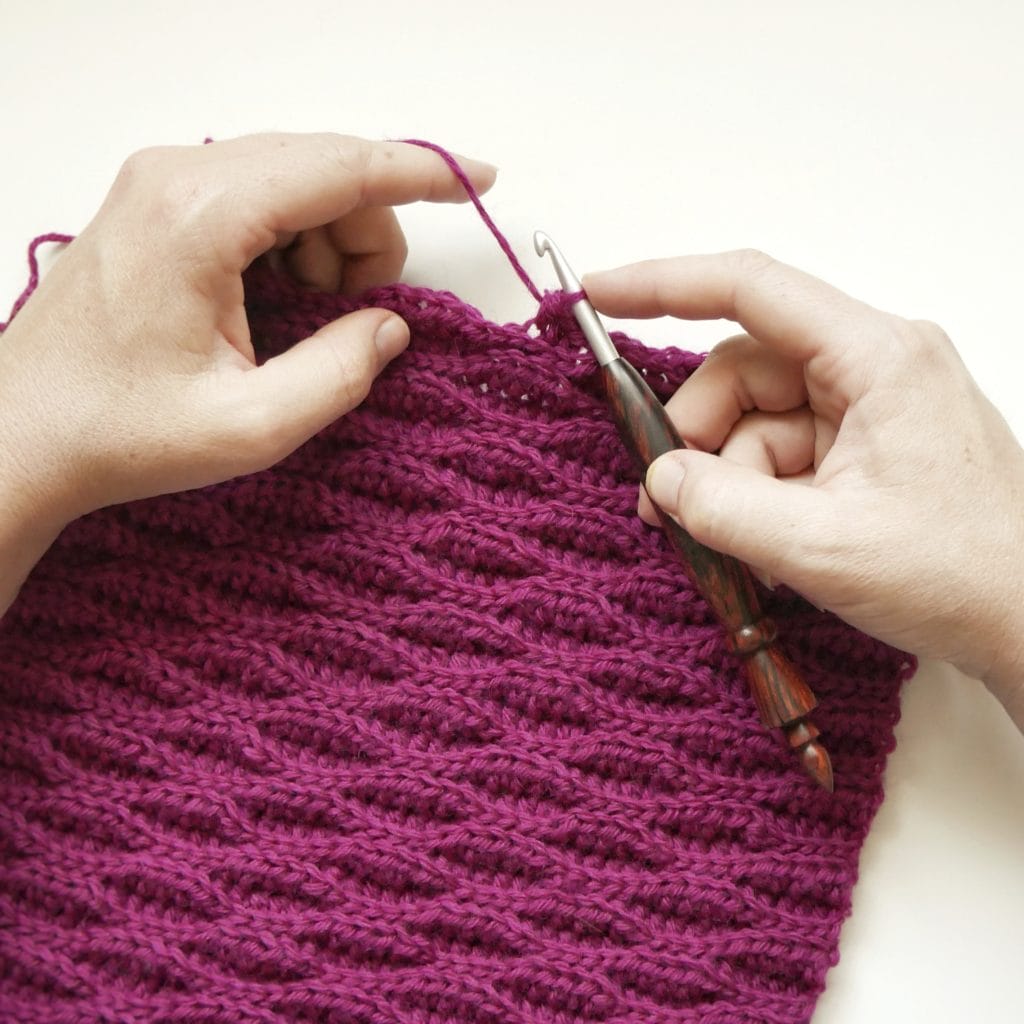
Hands crocheting with a wood-handled crochet hook onto a bright pink/fuchsia crochet swatch with an intriguing wave-like texture.

INSTRUCTIONS

Multiple: 10 + 6

Row 1 (RS): Ch to desired length, sl st in 2nd ch from hook and in the next 4 ch, *(hdc in next 5 sts, sl st in next 5 sts; rep from * to end, ch1, turn.

Row 2 (WS): Sl st blo in first 5 sts, *hdc blo in next 5 sts, sl st blo in next 5 sts; rep from * to end, ch1, turn.

Row 3: Hdc blo in first 5 sts, *sl st blo of next 5 sts, hdc blo in next 5 sts; repeat from * to end, ch1, turn.

Row 4: Hdc blo in first 5 sts, *sl st blo of next 5 sts, hdc blo in next 5 sts; repeat from * to end, ch1, turn.

Row 5: Sl st blo in first 5 sts, *hdc blo in next 5 sts, sl st blo in next 5 sts; repeat from * to end, ch1, turn.

Repeat Row 2 – 5 until desired measurement.

One more stitch to go, see you next week!

Headline above on a white background: "Crochet Tutorial: Wave Stitch: Bqueen Collection + WeCrochet." Below, Hands crocheting with a wood-handled crochet hook onto a bright pink/fuchsia crochet swatch with an intriguing wave-like texture.
a photo of Makenzie of BQueen and her husband

Hi! I’m Makenzie from BQueen Collection and my husband I make custom wood crochet hooks while I also dabble in pattern design. We live in eastern Colorado, enjoy fishing and the outdoors, and have three young boys who keep us very busy (plus eight chickens because we eat soooo many eggs). We’d love to connect – follow us on Instagram @bqueencollection and see what we’re up to!


HOW TO CROCHET ALPINE STITCH: TOTALLY TEXTURED TUESDAY
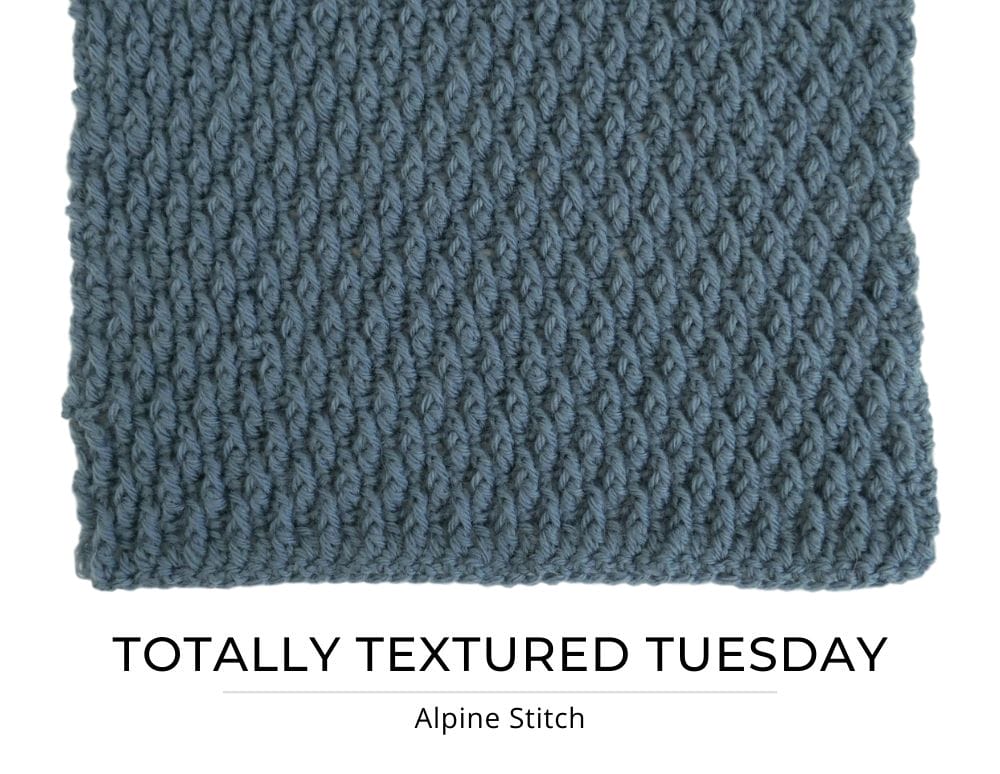
A blue-gray crochet swatch with nubby texture on a white background. Below, text says "Totally Textured Tuesday: Alpine Stitch."

This week we are learning to crochet the Alpine Stitch. Join us for our Totally Textured Tuesday series, where you’ll learn a new crochet stitch every week!

BQUEEN COLLECTION #TOTALLYTEXTUREDTUESDAY

Hi again! Makenzie from BQueen Collection sharing another Totally Textured Tuesday stitch for our 12 week series of fantastic stitches that are great for texture. It’s already week 10 and I have another stitch for you to try!

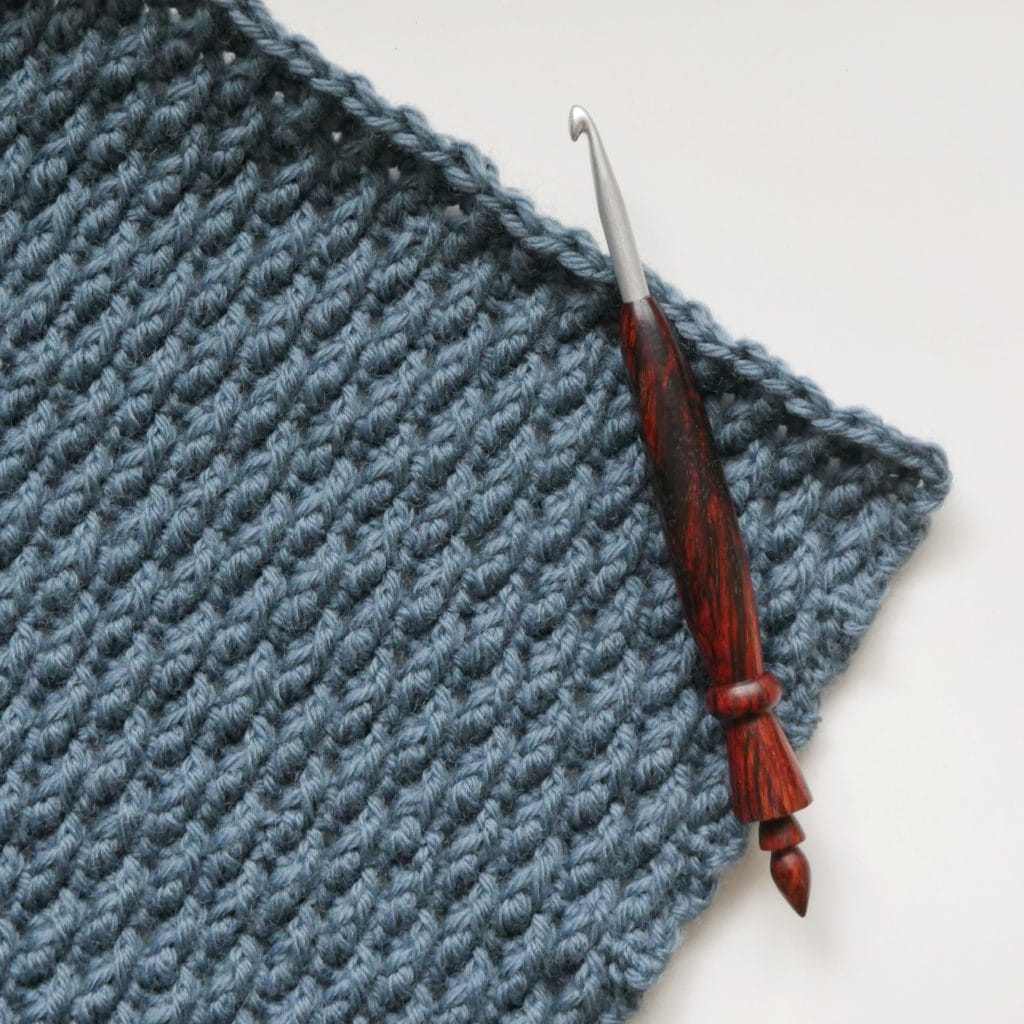
The corner of a blue-gray crochet swatch with nubby texture on a white background, with a wooden hook laying across the edge of the swatch.

Week 1: Single Crochet Back Loop Only (sc BLO)

Week 2: Blanket Stitch

Week 3: Even Moss Stitch

Week 4: Mini Basket Weave

Week 5: Bar Stitch

Week 6: Even Berry Stitch

Week 7: HDC FL + BL

Week 8: DC Cluster

Week 9: Mini Bean Stitch

WEEK 10: Crochet ALPINE STITCH

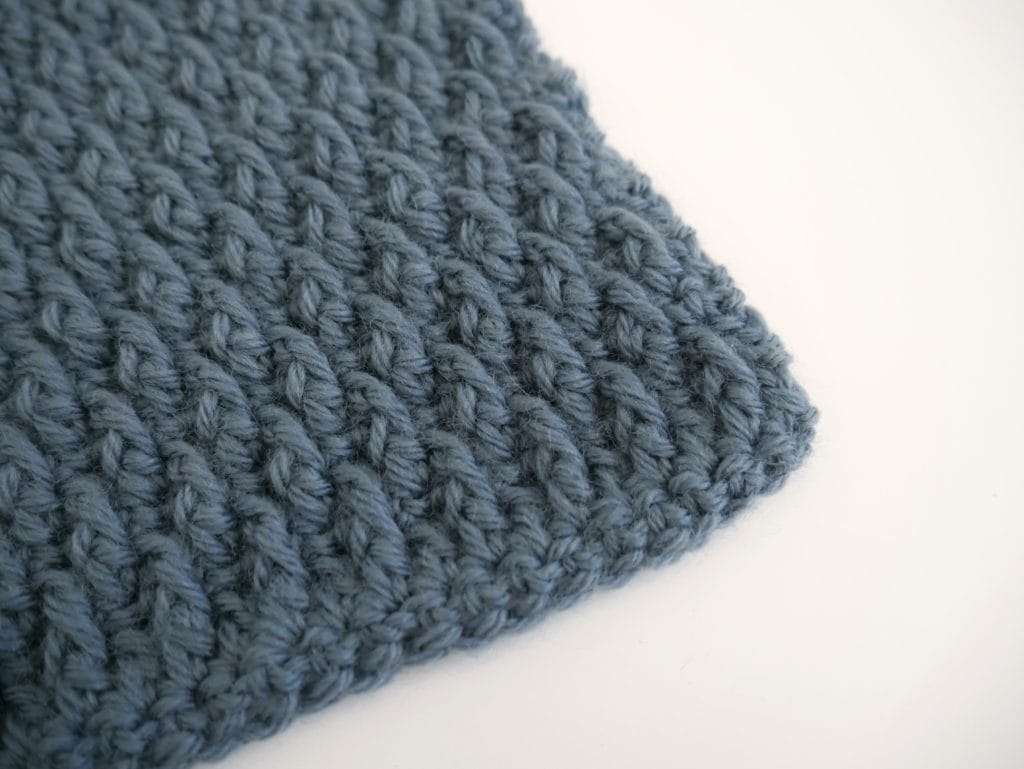
The corner of a blue-gray crochet swatch with nubby texture on a white background.
.

If you’ve ever searched Pinterest for crochet stitches, the Alpine Stitch has surely popped up. It’s super popular and easy, and it adds a very unique texture, so if you haven’t tried it yet – get on the bandwagon! In fact, our WeCrochet photographer Regan made an entire sweater using the Alpine Stitch:

We want to see it! If you try any of the stitches with us during the series, tag us @WeCrochetOfficial and @BQueenCollection AND use #totallytexturedtuesday so we can share!

MATERIALS

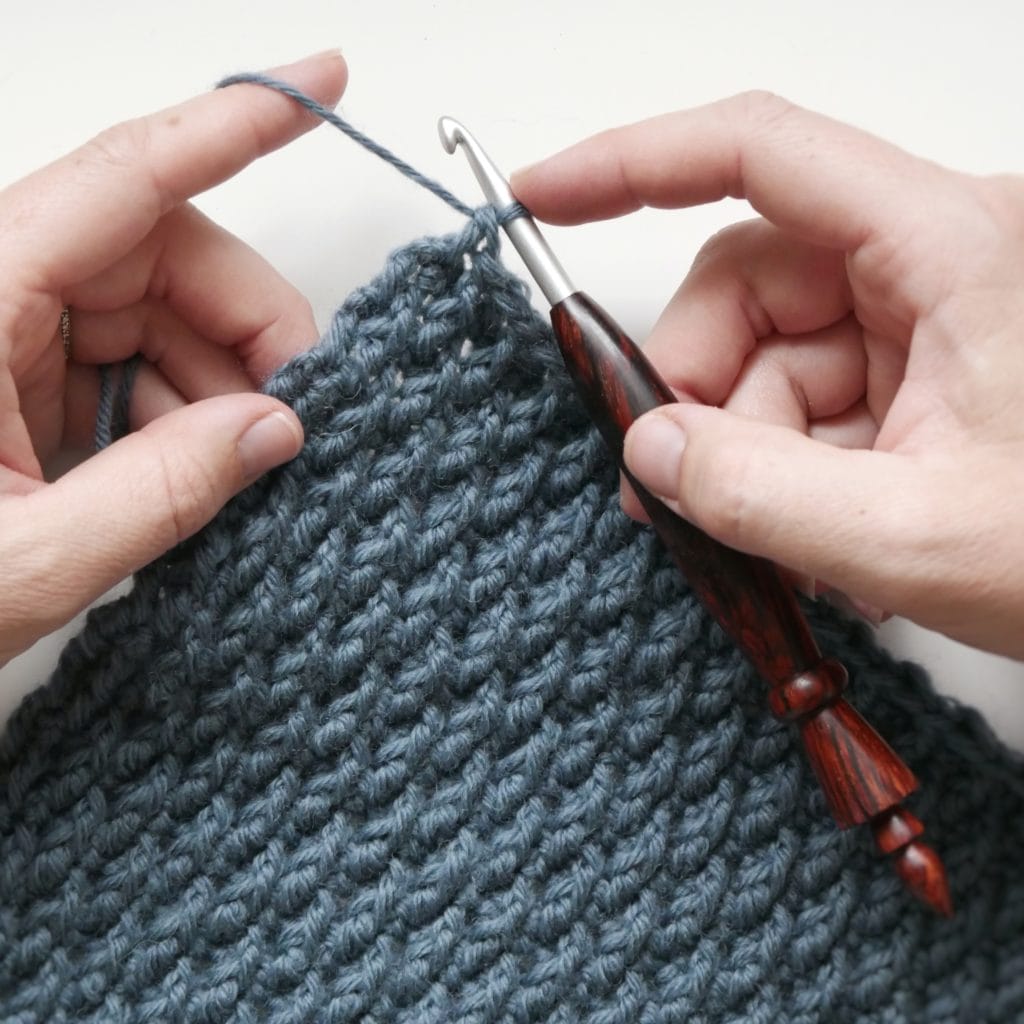
Hands crocheting with a wooden hook, along the corner of a blue-gray crochet swatch with nubby texture.

Any yarn or hook will do, but here is what I am using:

ABBREVIATIONS

  • ch: chain
  • rep: repeat
  • st(s): stitch(es)
  • sk: skip
  • RS: right side
  • WS: wrong side
  • sc: single crochet
  • dc: double crochet
  • FPDC: Front Post Double Crochet
  • CSDC: chainless starting double crochet (this substitutes a chain three turning chain for the beginning of every row, which if you’re not familiar with – check it out HERE. This will count as your first stitch for every row, and you’ll work in to the top of this stitch when finishing your next row.)

INSTRUCTIONS

Multiple: 2

Row 1 (WS): Ch to desired length, sc in 2nd ch from hook and in each ch across, turn.

Row 2 (RS): CSDC, dc in next st and each st across, turn.

Row 3: Ch1, sc in each st across, turn.

Row 4: CSDC, *FPDC around the dc below the next st, dc in the next st; repeat from * until the end of the row, turn.

Row 5: Ch1, sc in each st across, turn.

Row 6: CSDC, dc in next st, *FPDC around the dc below the next st, dc in the next st; repeat from * until the last st, dc, turn.

Repeat Row 3 – 6 until desired measurement.

That’s it! We’ll see you next week for another Totally Textured Tuesday!

Headline: "Crochet Tutorial: Alpine Stitch. BQueen Collection + WeCrochet." Below: On a white background, Hands crocheting with a wooden hook, along the corner of a blue-gray crochet swatch with nubby texture.
a photo of Makenzie of BQueen and her husband

Hi! I’m Makenzie from BQueen Collection and my husband I make custom wood crochet hooks while I also dabble in pattern design. We live in eastern Colorado, enjoy fishing and the outdoors, and have three young boys who keep us very busy (plus eight chickens because we eat soooo many eggs). We’d love to connect – follow us on Instagram @bqueencollection and see what we’re up to!


HOW TO CROCHET Mini Bean Stitch: TOTALLY TEXTURED TUESDAY
A pink textured crochet swatch on a white background. At the bottom, text that says "Totally Textured Tuesday: Mini Bean Stitch."

This week we are learning to crochet the Mini Bean Stitch. Join us for our Totally Textured Tuesday series, where you’ll learn a new crochet stitch every week!

BQUEEN COLLECTION #TOTALLYTEXTUREDTUESDAY

Hi again! Makenzie from BQueen Collection sharing another Totally Textured Tuesday stitch for our 12 week series. This is what we have covered so far:

Week 1: Single Crochet Back Loop Only (sc BLO)

Week 2: Blanket Stitch

Week 3: Even Moss Stitch

Week 4: Mini Basket Weave

Week 5: Bar Stitch

Week 6: Even Berry Stitch

Week 7: HDC FL + BL

Week 8: DC Cluster

WEEK 9: Crochet MINI BEAN STITCH

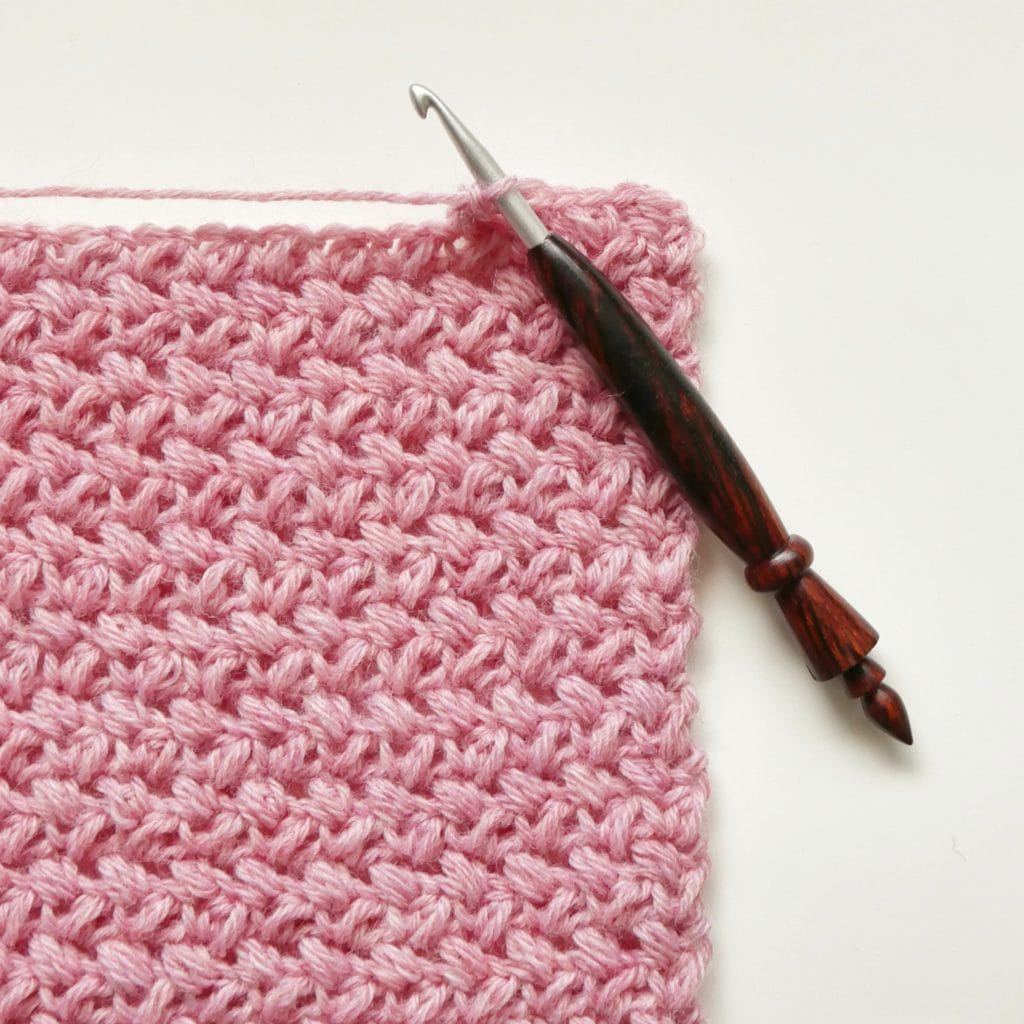
A pink textured crochet swatch on a white background. A wooden crochet hook is hooked into the top of the swatch.

I’m sure you’ve heard of this one, right? It’s perfect for our series and I just had to include it. The mini bean stitch adds a lot of interesting texture, while still being simple, fast, and completely gratifying.

We want to see it! If you try any of the stitches with us during the series, tag us @WeCrochetOfficial and @BQueenCollection AND use #totallytexturedtuesday so we can share!

MATERIALS

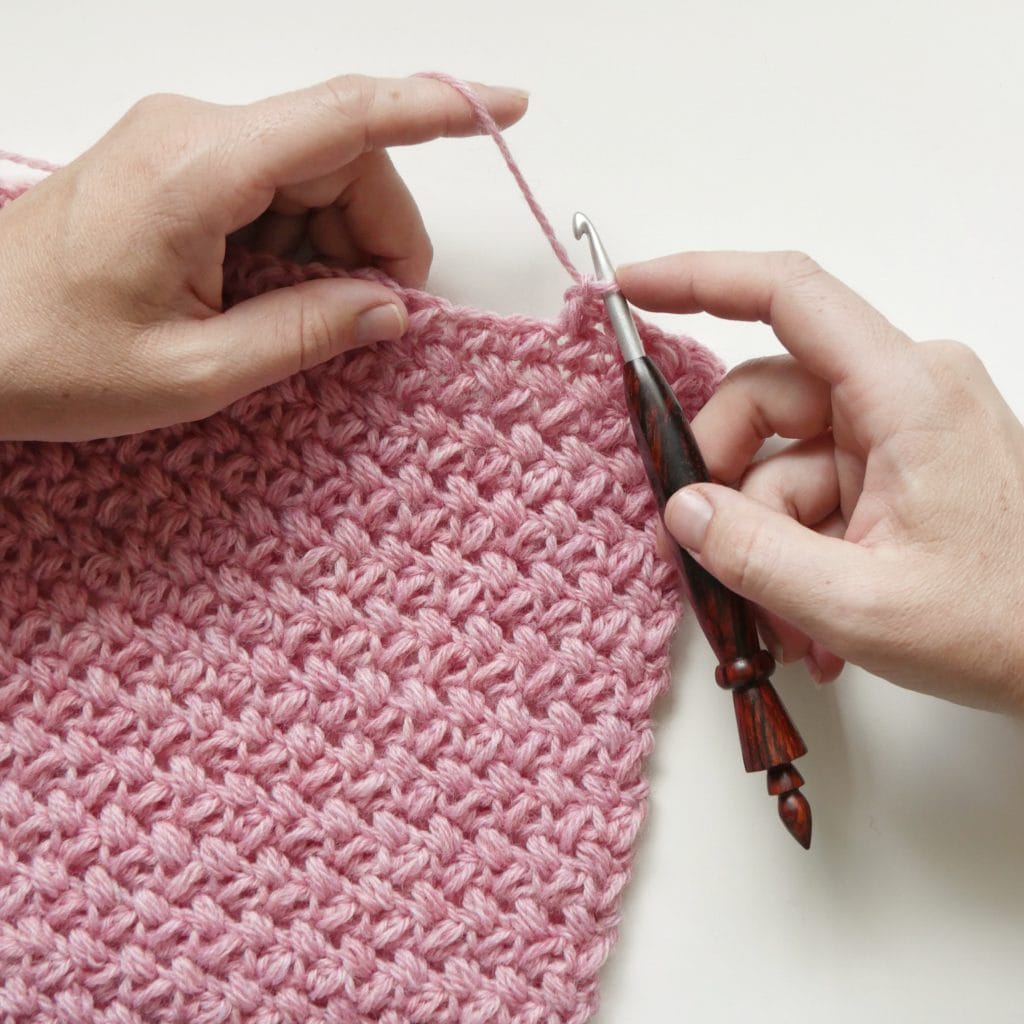
Hands crocheting with a wooden crochet hook into a pink textured crochet swatch on a white background.

Any yarn or hook will do, but here is what I am using:

ABBREVIATIONS

  • ch: chain
  • rep: repeat
  • st(s): stitch(es)
  • sk: skip
  • RS: right side
  • WS: wrong side
  • yo: yarn over
  • mb st: mini bean stitch; insert hook in to st, yo, draw up a loop, yo, insert hook in same st, yo, draw up a loop, yo, pull through all 4 loops on hook, ch1

INSTRUCTIONS

Multiple: 2 + 1

Row 1 (RS): Ch to desired length, mb st in 3rd chain from hook, *sk1 ch, mb st in next ch; repeat from * across, ch1, turn.

Row 2 (WS): Work 1 mb st into the side of each mb st from the previous row, ch1, turn.

Repeat Row 2 until desired measurement.

That’s it! We’ll see you next week for another Totally Textured Tuesday!

Headline that says: "Crochet Tutorial: Mini Bean Stitch: BQueen collection + WeCrochet." Below, Hands crocheting with a wooden crochet hook into a pink textured crochet swatch on a white background.
a photo of Makenzie of BQueen and her husband

Hi! I’m Makenzie from BQueen Collection and my husband I make custom wood crochet hooks while I also dabble in pattern design. We live in eastern Colorado, enjoy fishing and the outdoors, and have three young boys who keep us very busy (plus eight chickens because we eat soooo many eggs). We’d love to connect – follow us on Instagram @bqueencollection and see what we’re up to!


HOW TO CROCHET DC CLUSTER: TOTALLY TEXTURED TUESDAY
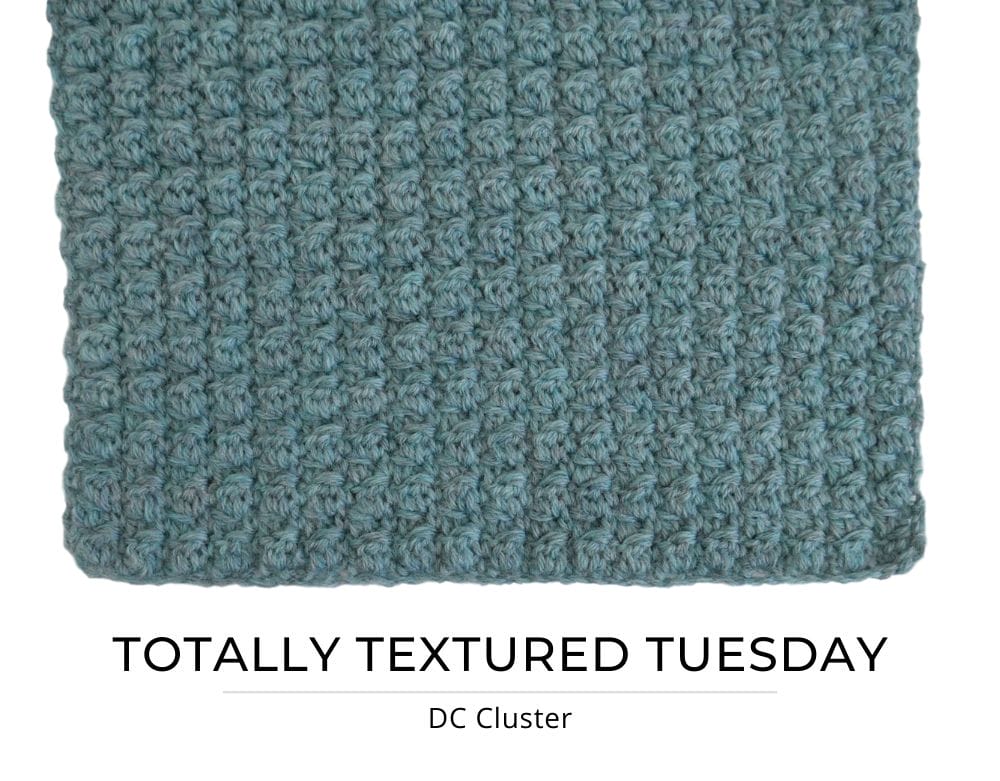
A greenish-blue textured crochet swatch on a white background. Text that says: Totally Textured Tuesday: DC Cluster.

This week we are learning to crochet the DC Cluster. Join us for our Totally Textured Tuesday series, where you’ll learn a new crochet stitch every week!

BQUEEN COLLECTION #TOTALLYTEXTUREDTUESDAY

Hi again! Makenzie from BQueen Collection sharing another Totally Textured Tuesday stitch for our 12 week series. We are already on Week 8, but here is what we have done so far:

Week 1: Single Crochet Back Loop Only (sc BLO)

Week 2: Blanket Stitch

Week 3: Even Moss Stitch

Week 4: Mini Basket Weave

Week 5: Bar Stitch

Week 6: Even Berry Stitch

Week 7: HDC FL + BL

WEEK 8: Crochet DC CLUSTER

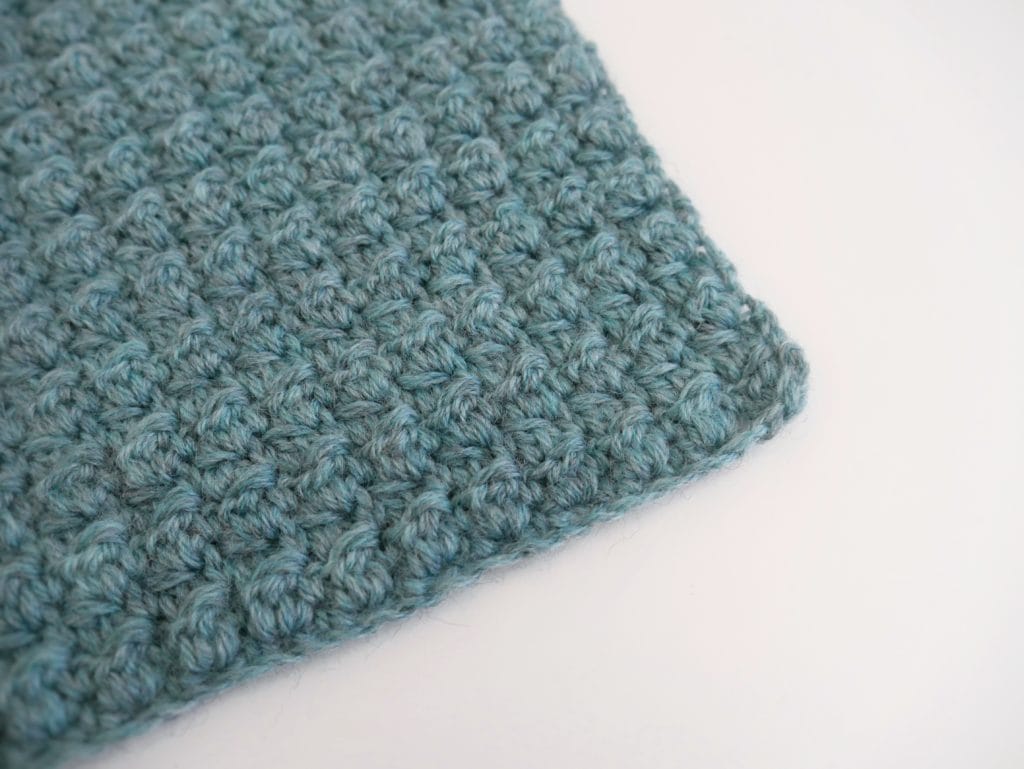
The corner of a greenish-blue textured crochet swatch on a white background.

It’s time for the Double Crochet Cluster! If you are thinking that this looks similar to the Even Berry Stitch of Week 6, you’re right but it is not exactly the same! A little less bobble, completely reversable, slightly different technique – yet just as lofty. PLUS, this stitch is not technically an “even” stitch.

We want to see it! If you try any of the stitches with us during the series, tag us @WeCrochetOfficial and @BQueenCollection AND use #totallytexturedtuesday so we can share!

MATERIALS

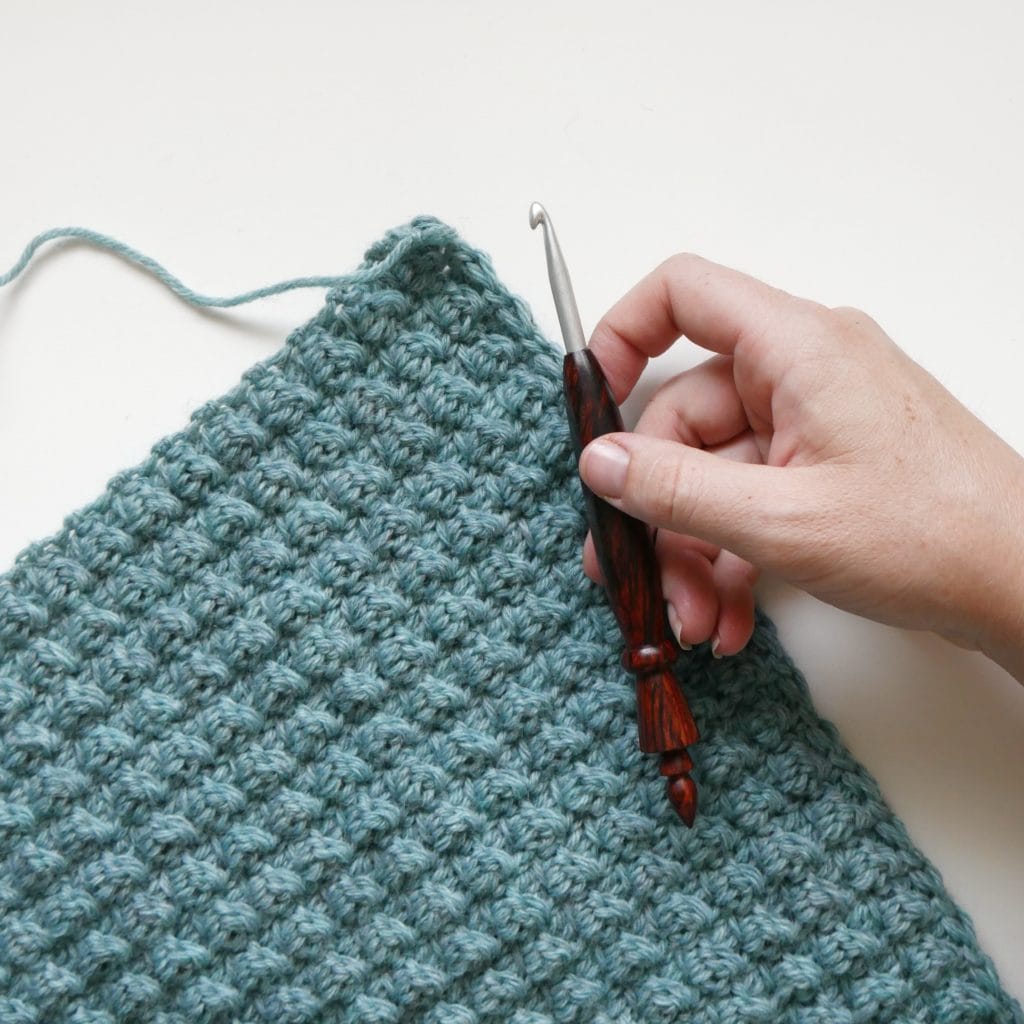
A hand holding a wooden hook over a greenish-blue textured crochet swatch on a white background.

Any yarn or hook will do, but here is what I am using:

ABBREVIATIONS

  • ch: chain
  • rep: repeat
  • sc: single crochet
  • dc: double crochet
  • RS: right side
  • WS: wrong side
  • dc cluster: double crochet 2 together; *yo, insert hook in to st, yo, pull up a loop, yo, pull through 2 loops on hook; rep from * one more time in the same st, yo and pull through all 3 loops on hook.

INSTRUCTIONS

Multiple: 2

Row 1 (RS): Ch an even number of sts, sc in 2nd ch from hook and each ch across, ch1, turn.

Row 2 (WS): In first st, *sc, dc cluster in next st; repeat from * across ending with a sc in last st, ch1, turn.

Repeat Row 2 until desired measurement.

Reversible and awesome! We’ll see you next week.

At the top: text that says: "Crochet Tutorial: DC Cluster. BQueen Collection + WeCrochet." A hand holding a wooden hook over a greenish-blue textured crochet swatch on a white background.
a photo of Makenzie of BQueen and her husband

Hi! I’m Makenzie from BQueen Collection and my husband I make custom wood crochet hooks while I also dabble in pattern design. We live in eastern Colorado, enjoy fishing and the outdoors, and have three young boys who keep us very busy (plus eight chickens because we eat soooo many eggs). We’d love to connect – follow us on Instagram @bqueencollection and see what we’re up to!


HOW TO CROCHET Half Double Crochet Front Loop and Back Loop (HDC FL + BL): TOTALLY TEXTURED TUESDAY
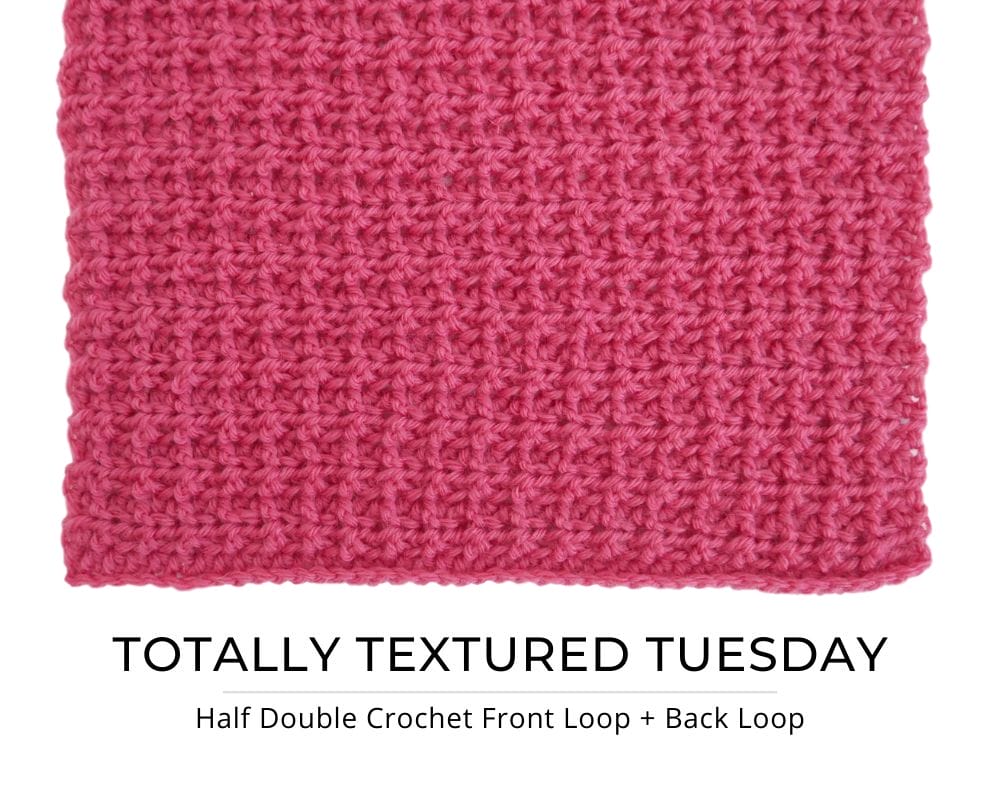
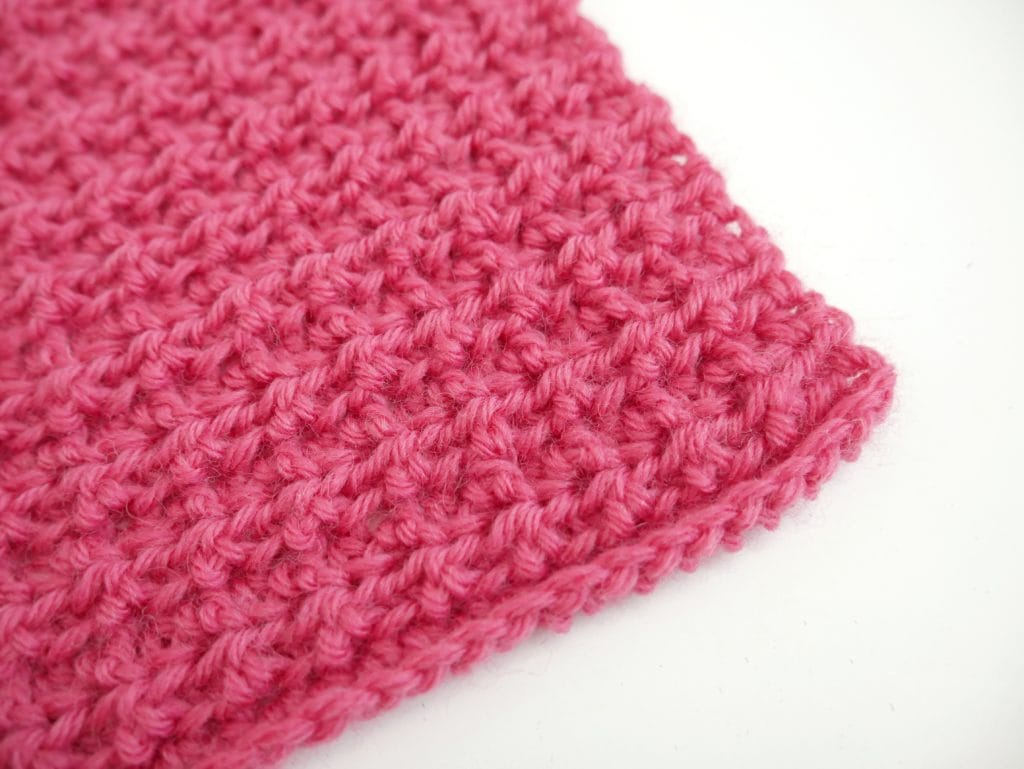
An image of a bright pink crochet swatch with a waffle-ish texture on a white background. Text that says: Totally Textured Tuesday. Half Double Crochet Front Loop + Back Loop.

This week we are learning to crochet the Half Double Crochet Front Loop and Back Loop (or HDC FL + BL). Join us for our Totally Textured Tuesday series, where you’ll learn a new crochet stitch every week!

BQUEEN COLLECTION #TOTALLYTEXTUREDTUESDAY

Hi again! Makenzie from BQueen Collection sharing another Totally Textured Tuesday stitch for our 12 week series. We’ll be going over 12 stitches I think are full of IT (and by “it” I mean texture, depth, dimension and loft!). Here’s a recap:

Week 1: Single Crochet Back Loop Only (sc BLO)

Week 2: Blanket Stitch

Week 3: Even Moss Stitch

Week 4: Mini Basket Weave

Week 5: Bar Stitch

Week 6: Even Berry Stitch

WEEK 7: Crochet HDC FL + BL

The corner of a bright pink crochet swatch with a waffle-ish texture on a white background.

HDC FL + BL translates to Half Double Crochet Front Loop and Back Loop. This one sounds and looks a little busy, and that’s because it kind of is. However, this stitch is super easy and probably one you’ve never heard or tried before. Remember the Mini Basket Weave stitch from week 4, where we alternated front and back posts of our double crochets? This is kind of like that. Instead, we are alternating between front and back loops of the hdc stitch, which gives it that depth we’re after here. I’m seeing dishcloths for this stitch…

We want to see it! If you try any of the stitches with us during the series, tag us @WeCrochetOfficial and @BQueenCollection AND use #totallytexturedtuesday so we can share!

MATERIALS

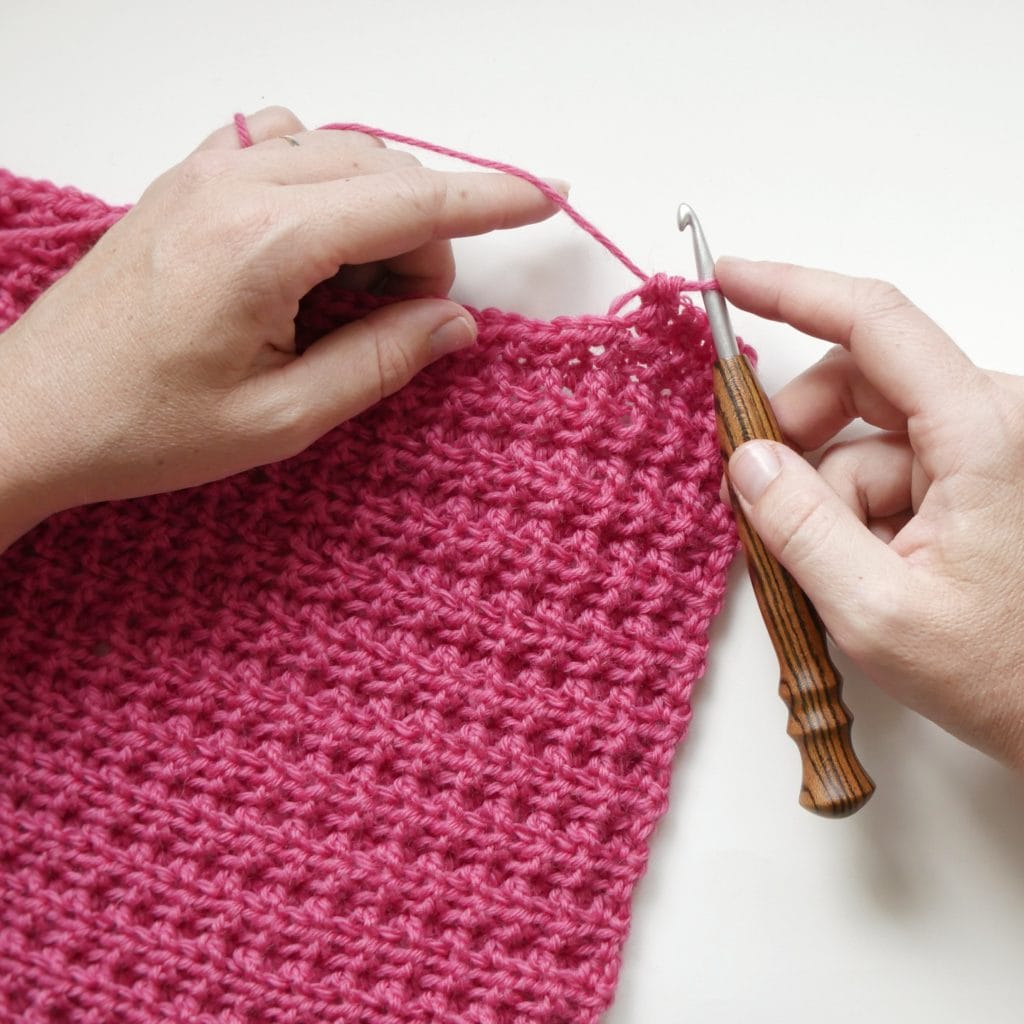
Hands holding a wooden crochet hook crocheting a bright pink crochet swatch with a waffle-ish texture on a white background.

Any yarn or hook will do, but here is what I am using:

ABBREVIATIONS

  • ch: chain
  • rep: repeat
  • hdc: half double crochet
  • blo: back loop only
  • flo: front loop only
  • RS: right side
  • WS: wrong side

INSTRUCTIONS

Multiple: Odd Number

Row 1 (RS): Ch an odd number of sts to desired length, hdc in 2nd ch from hook and each ch across, ch1, turn.

Row 2 (WS): Hdc in first st, *hdc blo, hdc flo; repeat from * until last st, hdc, ch1, turn.

Repeat Row 2 until desired measurement.

There you have it, and something new for you to try! See you next week.

Headline that says: Crochet Tutorial: HDC FL + BL (Half Double Crochet Front Loop + Back Loop) above an image of hands crocheting with a wooden crochet hook, a bright pink crochet swatch with a waffle-ish texture on a white background.
a photo of Makenzie of BQueen and her husband

Hi! I’m Makenzie from BQueen Collection and my husband I make custom wood crochet hooks while I also dabble in pattern design. We live in eastern Colorado, enjoy fishing and the outdoors, and have three young boys who keep us very busy (plus eight chickens because we eat soooo many eggs). We’d love to connect – follow us on Instagram @bqueencollection and see what we’re up to!


HOW TO CROCHET Even Berry Stitch: TOTALLY TEXTURED TUESDAY
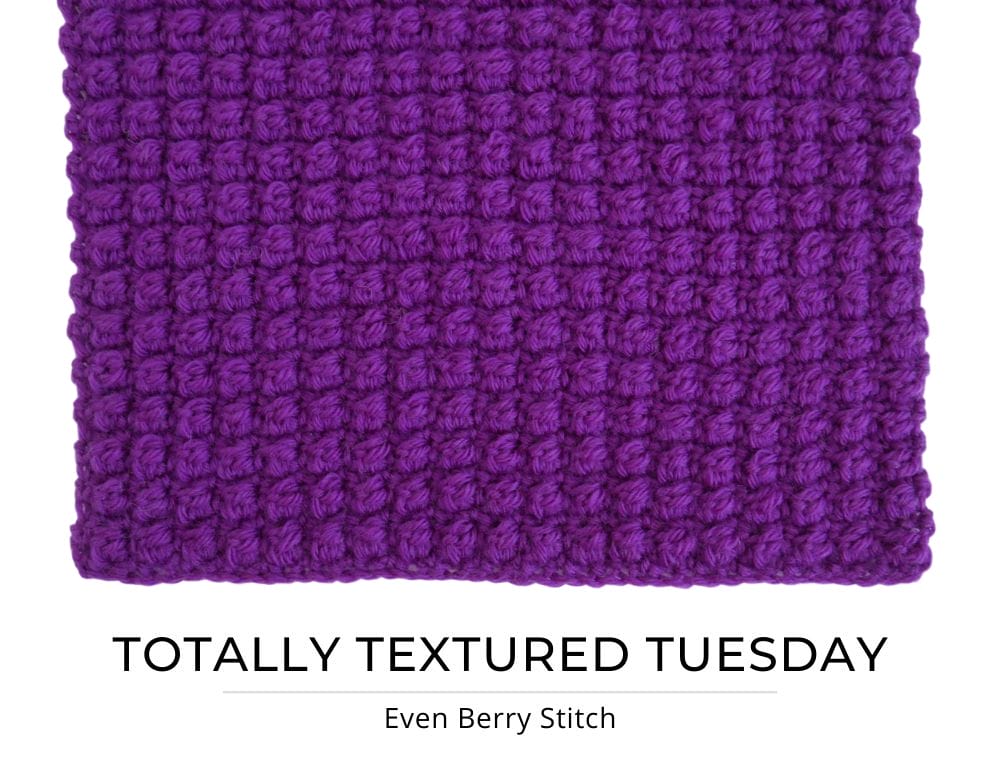
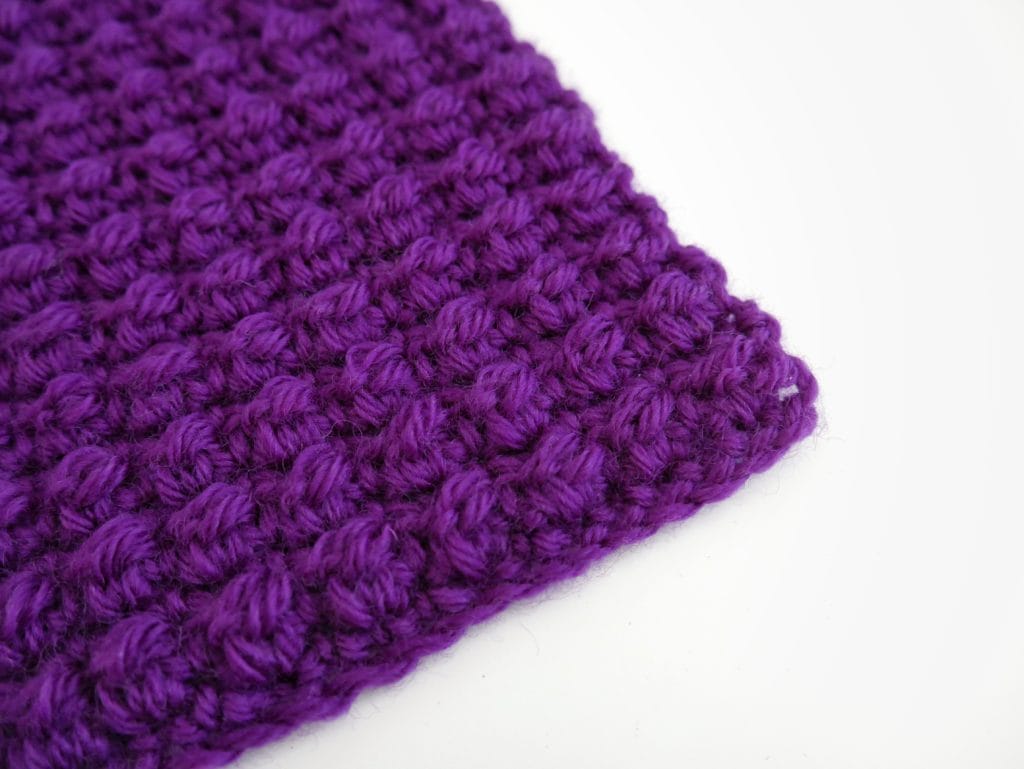
On a white background: A purple crochet swatch featuring a textured stitch (the even berry stitch), with the text: Totally Textured Tuesday, Even Berry Stitch.

This week we are learning to crochet the Even Berry Stitch. Join us for our Totally Textured Tuesday series, where you’ll learn a new crochet stitch every week!

BQUEEN COLLECTION #TOTALLYTEXTUREDTUESDAY

Hi again! Makenzie from BQueen Collection sharing another Totally Textured Tuesday stitch for our 12 week series of stitches I think you’ll love and ought to try.

Week 1: Single Crochet Back Loop Only (sc BLO)

Week 2: Blanket Stitch

Week 3: Even Moss Stitch

Week 4: Mini Basket Weave

Week 5: Bar Stitch

WEEK 6: Crochet Even Berry Stitch

On a white background: the corner of a purple crochet swatch featuring a textured stitch (the even berry stitch).

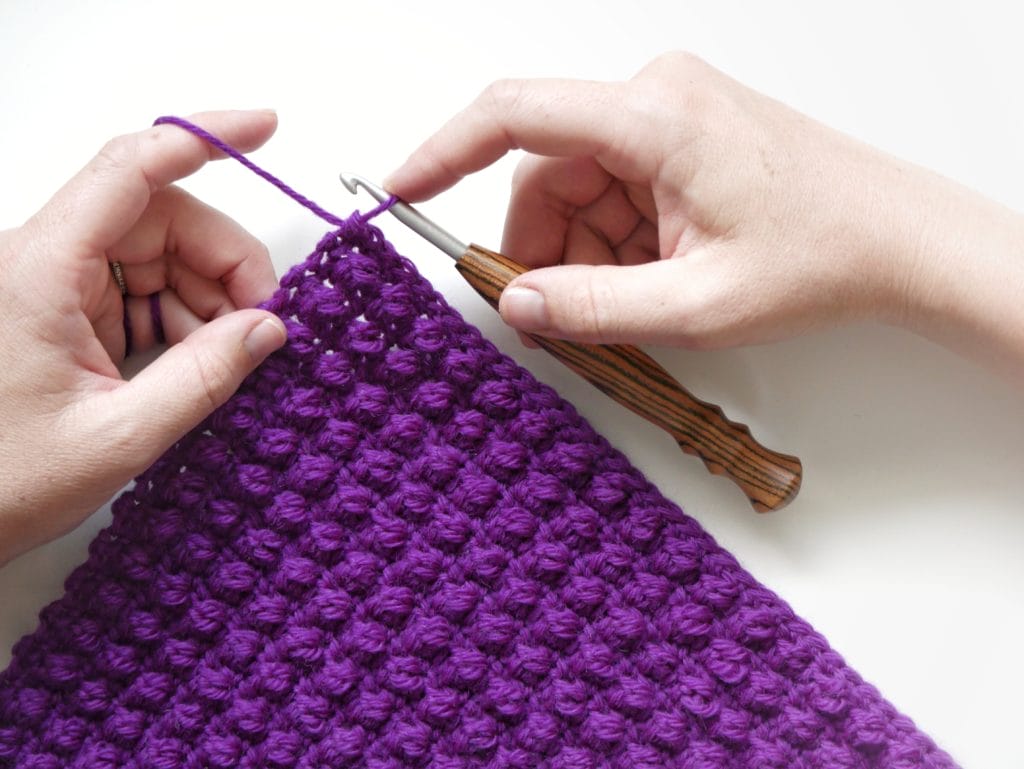
Yes, it will make you crave berries and no, you cannot eat the yarn (even though this color “Columbine” is Y.U.M.M.Y.). Remember back in Week 3 when we talked about the Even Moss Stitch? This is the same deal with the Even Berry Stitch, where the “berries” are stacked directly upon one another for nice organized columns and rows. These are so similar to a bobble, but not quite as firm which makes them – I think – even more cozy.

We want to see it! If you try any of the stitches with us during the series, tag us @WeCrochetOfficial and @BQueenCollection AND use #totallytexturedtuesday so we can share!

MATERIALS

Hands crocheting with a striped wooden crochet hook, on a white background: A purple crochet swatch featuring a textured stitch (the even berry stitch).

Any yarn or hook will do, but here is what I am using:

ABBREVIATIONS

  • ch: chain
  • sc: single crochet
  • rep: repeat
  • RS: right side
  • WS: wrong side
  • yo: yarn over
  • berry stitch: yo, insert hook, yo, pull through, yo, pull through one loop on the hook, yo, insert hook, yo, pull through, yo, pull through all five loops left on the hook

INSTRUCTIONS

Multiple: 2

Row 1 (RS): Ch in multiple of 2 to desired length, sc in 2nd ch from hook and each ch across, ch1, turn.

Row 2 (WS): Sc in first st, *berry stitch in next st, sc in next st; repeat from * across, ch1, turn.

Row 3: Sc across.

Repeat Rows 2 and 3 until desired measurement.

That’s it! E-Z-P-Z and frankly a serious trigger for some fruit, I’d say. We’ll see you next week!

Text at the top says: "Crochet Tutorial, Even Berry Stitch, BQueen Collection + WeCrochet." Underneath: Hands crocheting with a striped wooden crochet hook, on a white background: A purple crochet swatch featuring a textured stitch (the even berry stitch).
a photo of Makenzie of BQueen and her husband

Hi! I’m Makenzie from BQueen Collection and my husband I make custom wood crochet hooks while I also dabble in pattern design. We live in eastern Colorado, enjoy fishing and the outdoors, and have three young boys who keep us very busy (plus eight chickens because we eat soooo many eggs). We’d love to connect – follow us on Instagram @bqueencollection and see what we’re up to!


HOW TO CROCHET Bar Stitch: TOTALLY TEXTURED TUESDAY
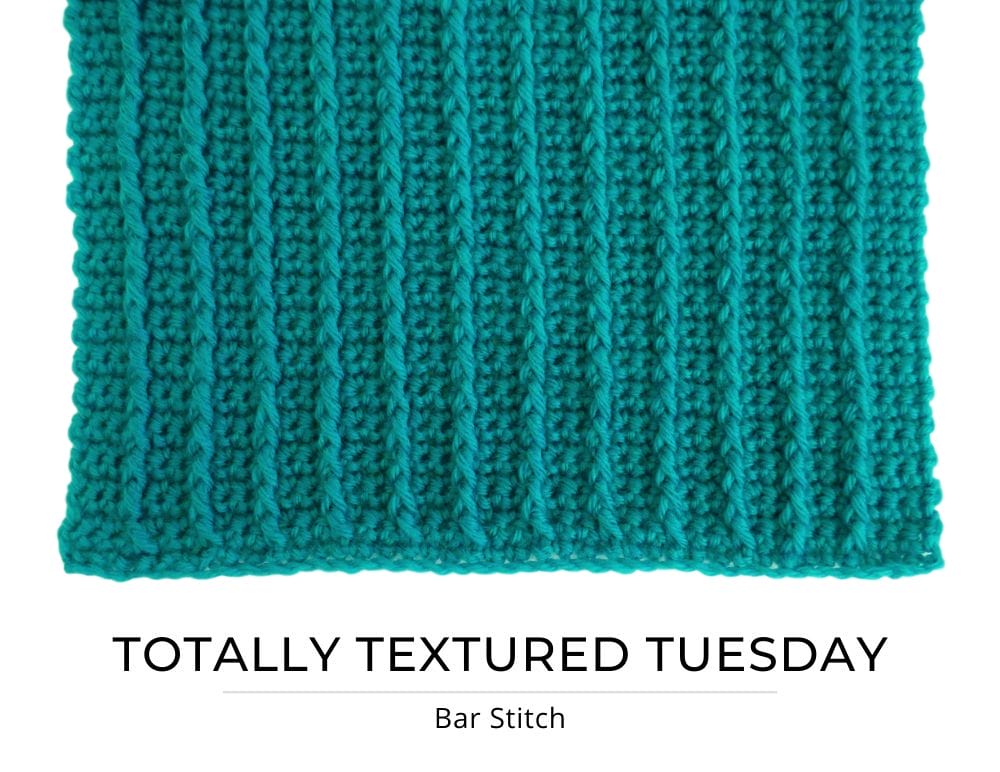
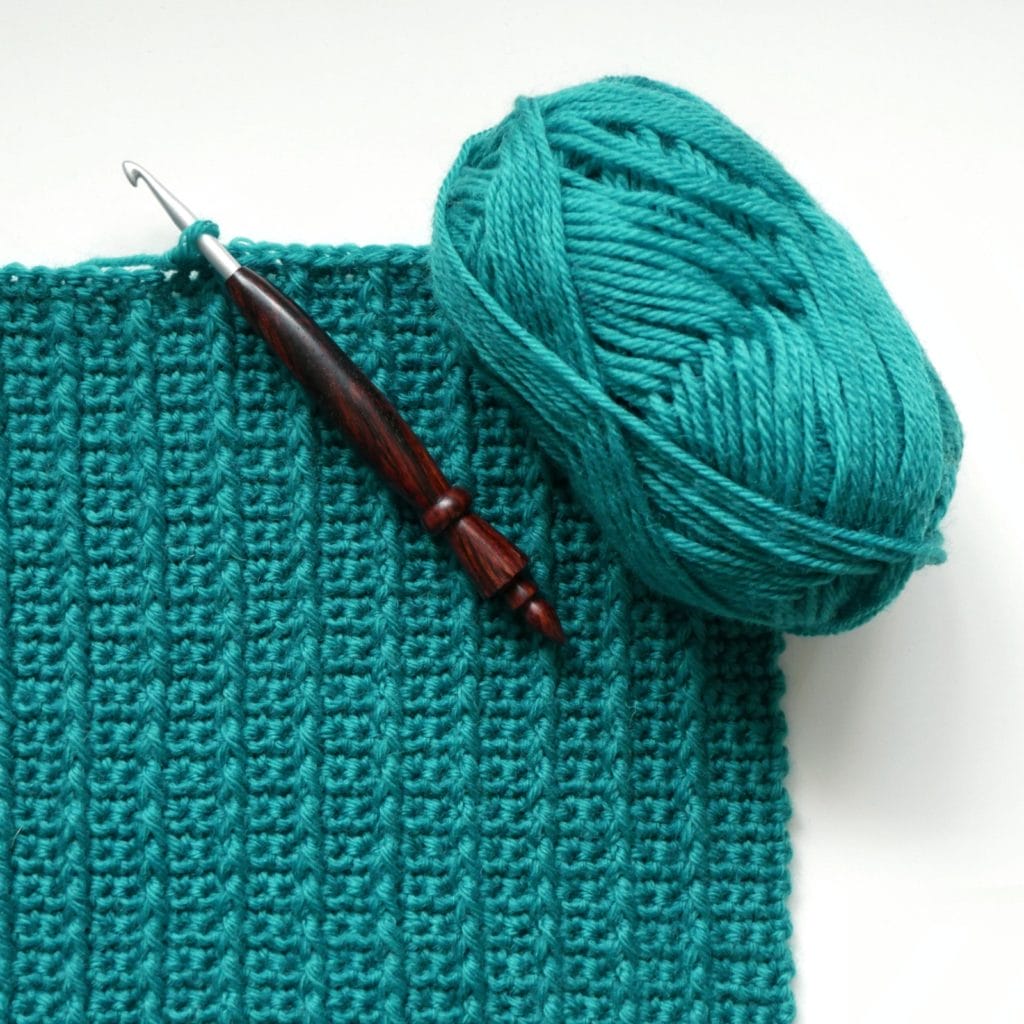
An image of a turquoise crocheted swatch with vertical lines of front post double crochet spanning up and down the swatch. Text below says "Totally Textured Tuesday: Bar Stitch"

This week we are learning to crochet the Bar Stitch. Join us for our Totally Textured Tuesday series, where you’ll learn a new crochet stitch every week!

BQUEEN COLLECTION #TOTALLYTEXTUREDTUESDAY

Hi again! Makenzie from BQueen Collection sharing another Totally Textured Tuesday stitch for our 12 week series. I’ve handpicked my favorite 12 stitch patterns that are full of texture and dimension – no flatwork here! First, a quick a recap of what we’ve done so far:

Week 1: Single Crochet Back Loop Only (sc BLO)

Week 2: Blanket Stitch

Week 3: Even Moss Stitch

Week 4: Mini Basket Weave

WEEK 5: Crochet the Bar Stitch

An image of hands holding a wooden crochet hook and crocheting into a turquoise crocheted swatch with vertical lines of front post double crochet spanning up and down the swatch.

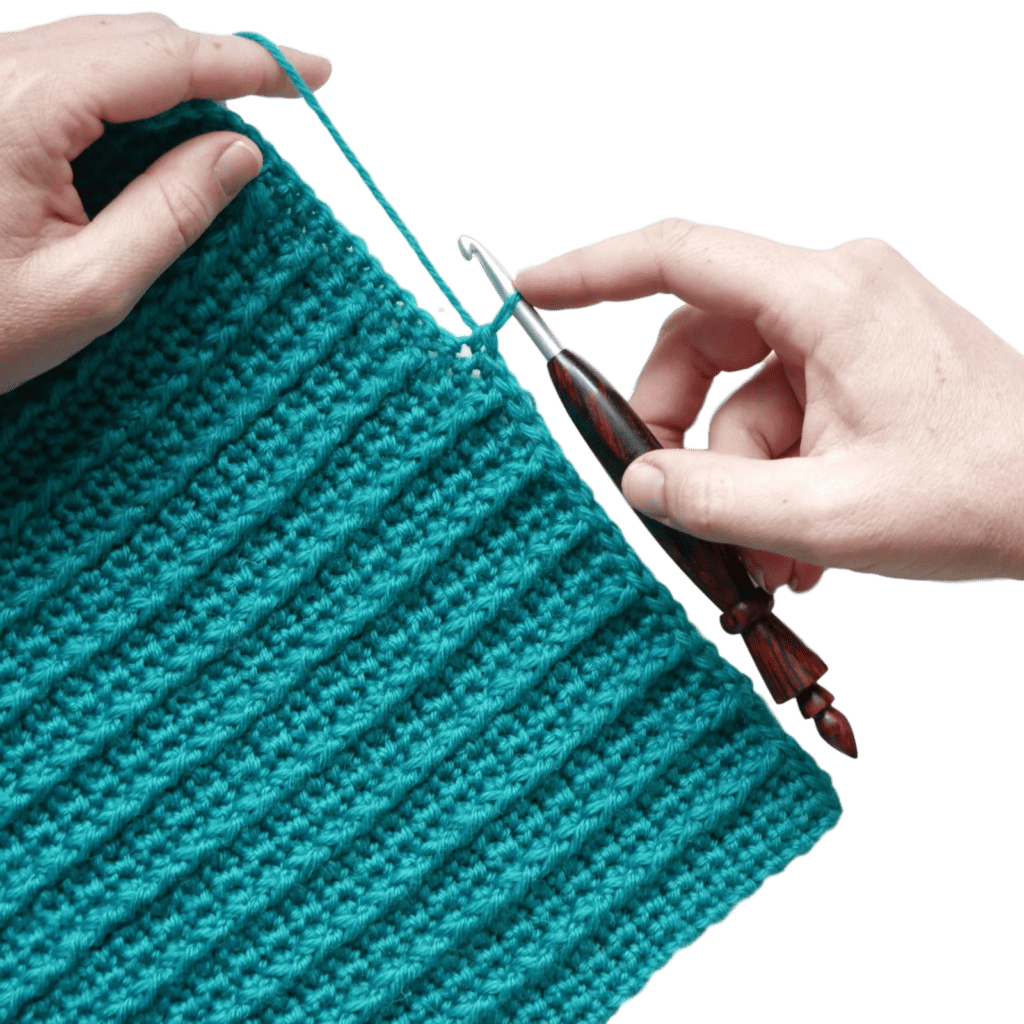
Now that you’ve had a chance to get used to FPdc (Front Post Double Crochet), let’s try spacing them out and working with stitches two rows below for a little for a different effect! The Bar Stitch is super simple, but creates a nice vertical texture.

We want to see it! If you try any of the stitches with us during the series, tag us @WeCrochetOfficial and @BQueenCollection AND use #totallytexturedtuesday so we can share!

MATERIALS

An image of a turquoise crocheted swatch with vertical lines of front post double crochet spanning up and down the swatch. A wooden crochet hook lays across the swatch, and a ball of yarn sits on the corner.

Any yarn or hook will do, but here is what I am using:

ABBREVIATIONS

  • ch: chain
  • dc: double crochet
  • rep: repeat
  • FPdc: front post double crochet
  • sc: single crochet
  • RS: right side
An image of a turquoise crocheted swatch (sitting diagonal across the image) with vertical lines of front post double crochet spanning up and down the swatch.

INSTRUCTIONS

Multiple: 3 + 3

Row 1 (RS): Ch to desired length, sc in 2nd ch from hook and each ch across, ch1, turn.

Row 2: Sc in each sc across, ch1, turn.

Row 3: 1sc into each of the first 2 sc, *FPdc around next sc 2 rows below, 1sc into each of the next 2 sc; rep from * to end, ch 1, turn.

Row 4: Sc in each sc across, ch1, turn.

Row 5: 1sc into each of the first 2 sc, *FPdc around next dc 2 rows below, 1sc into each of the next 2 sc; rep from * to end, ch 1, turn.

Repeat Rows 4 – 5 until desired measurement.

Now you have some experience in working rows below! Don’t be afraid to go in to that territory – there are a lot of awesome possibilities. Until next week…

Text that says: Crochet Tutorial: Bar Stitch, BQueen Collection + WeCrochet, above An image of hands holding a wooden crochet hook and crocheting a turquoise crocheted swatch with vertical lines of front post double crochet spanning up and down the swatch.
a photo of Makenzie of BQueen and her husband

Hi! I’m Makenzie from BQueen Collection and my husband I make custom wood crochet hooks while I also dabble in pattern design. We live in eastern Colorado, enjoy fishing and the outdoors, and have three young boys who keep us very busy (plus eight chickens because we eat soooo many eggs). We’d love to connect – follow us on Instagram @bqueencollection and see what we’re up to!


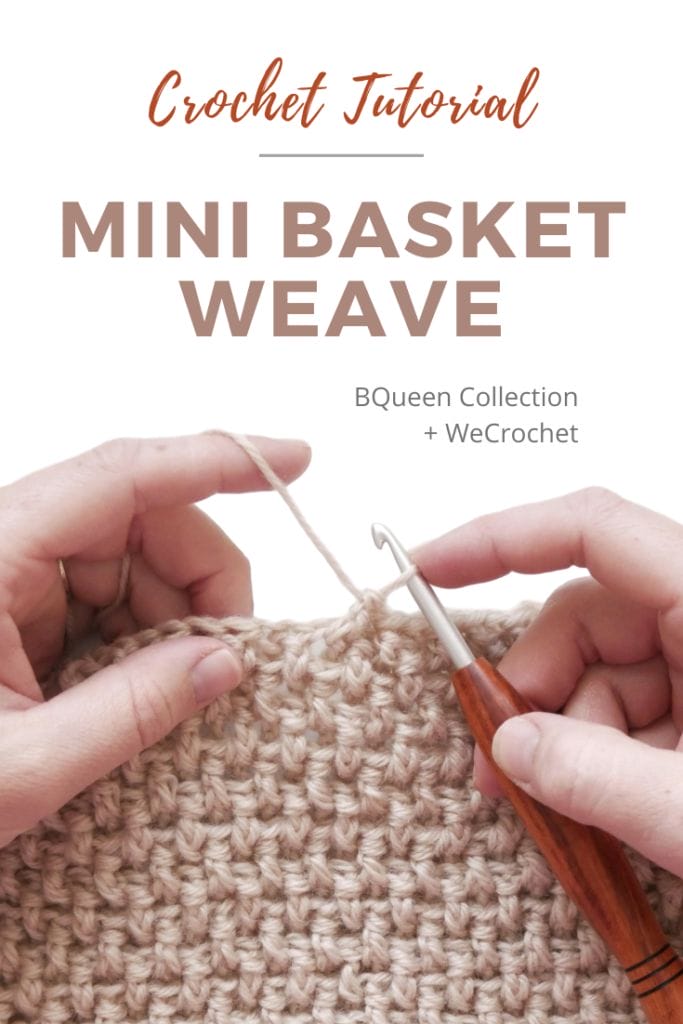
How to crochet Mini Basket Weave Stitch: Totally Textured Tuesday
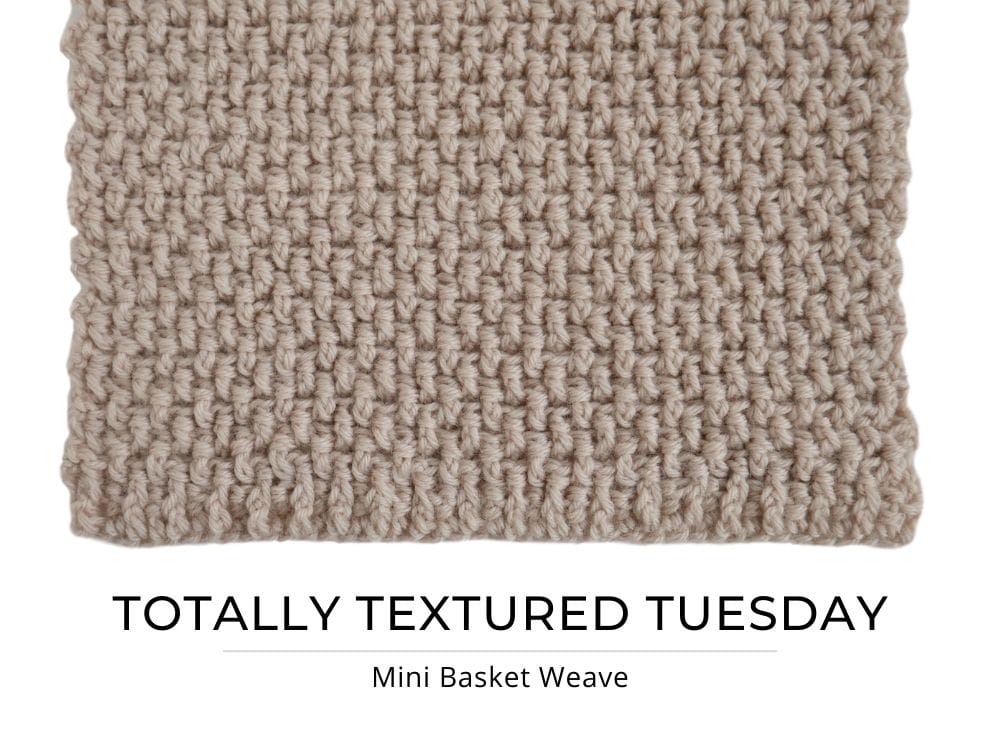
An image of a tan crochet swatch with a basketweave texture and text that says "Totally Textured Tuesday: Mini Basket Weave"

This week we are learning to crochet the Mini Basket Weave Stitch. Join us for our Totally Textured Tuesday series, where you’ll learn a new crochet stitch every week!

BQUEEN COLLECTION #TOTALLYTEXTUREDTUESDAY

Hi again! Makenzie from BQueen Collection sharing another Totally Textured Tuesday stitch for our 12 week series. I’ve handpicked my favorite 12 stitch patterns that are full of texture and dimension – no flatwork here! First, a quick a recap of what we’ve done so far:

Week 1: Single Crochet Back Loop Only (sc BLO)

Week 2: Blanket Stitch

Week 3: Even Moss Stitch

We want to see it! If you try any of the stitches with us during the series, tag us @WeCrochetOfficial and @BQueenCollection AND use #totallytexturedtuesday so we can share!

WEEK 4: Crochet Mini Basket Weave Stitch

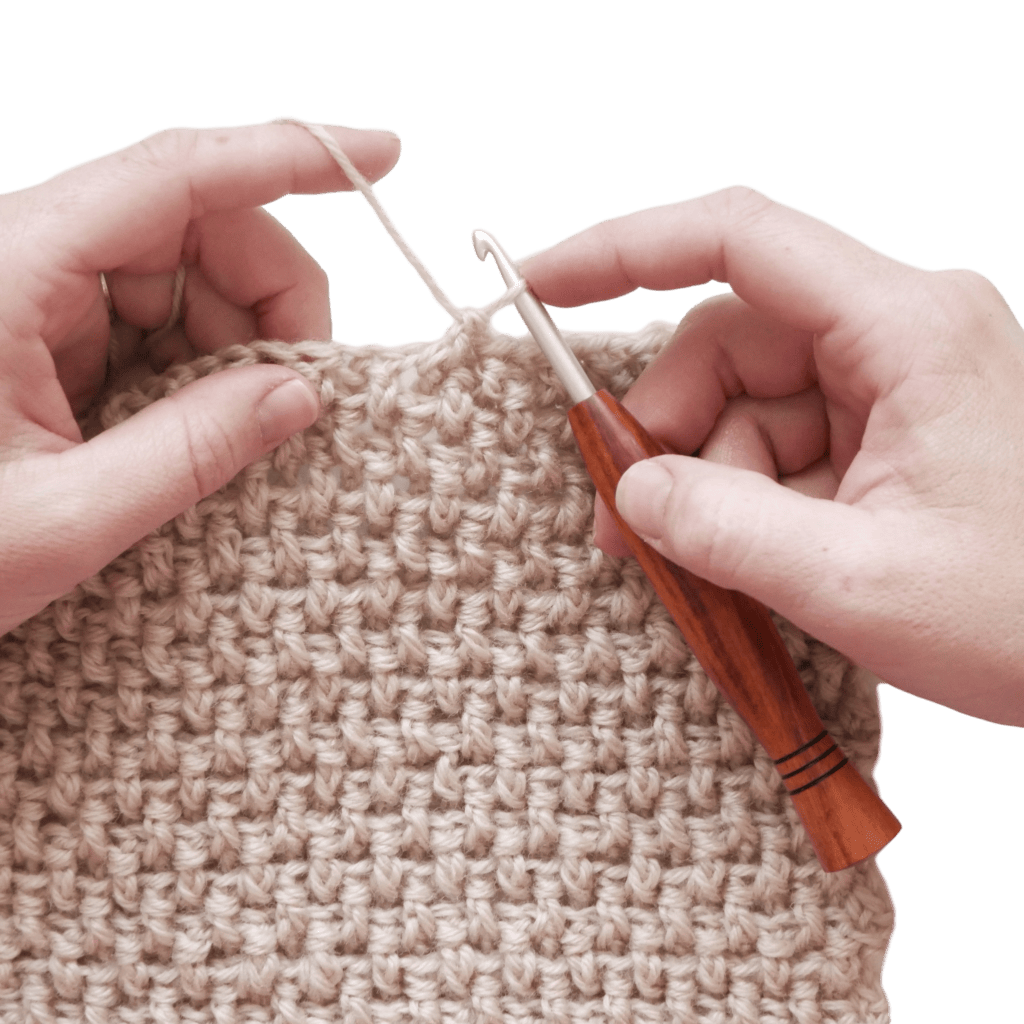
An image of hands crocheting a tan crochet swatch with a basketweave texture, with a wooden-handled crochet hook.

MATERIALS

Any yarn or hook will do, but here is what I am using:

ABBREVIATIONS

  • ch: chain
  • dc: double crochet
  • rep: repeat
  • FPdc: front post double crochet
  • BPdc: back post double crochet
  • CSdc: chainless starting double crochet (this substitutes a chain three turning chain for the beginning of every row, which if you’re not familiar with – check it out HERE. This will count as your first stitch for every row, and you’ll work in to the top of this stitch when finishing your next row.)

We are dipping our toes in to some front post and back post double crochets, which if you’ve never practiced before, create lots of texture without much thought. The trick with these stitches is to ignore the normal V that you’d crochet in to, and instead work around the post of the specified stich. By alternating a “front” and “back” post double crochet, you get a weave!

Here’s a visual if you’re new to this technique:

How to FPDC and BPDC:

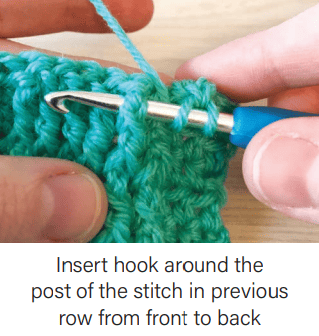
A hot pink text frame with black text that says: How to work front post double crochet (FPDC): YO, insert hook around post of indicated st from front to back to front, YO, pull through, [YO, pull through 2 lps on hook] twice. Learning FPDC is foundational in order to crochet mini basket weave stitch.
An image of a crochet hook working a green crochet swatch. The hook is being fed around the post of a stitch from front to back to front. Text that says "Insert hook around the post of the stitch in previous row from front to back"
A light pink text frame with black text that says: How to work back post double crochet (BPDC): YO, insert hook around post of indicated st from back to front to back, YO, pull through, [YO, pull through 2 lps on hook] twice.

Learning BPDC is foundational in order to crochet mini basket weave stitch.
An image of a crochet hook working a green crochet swatch. The hook is being fed from behind the work, around the post of a stitch from back to front to back. Text that says "Insert hook around the post of the stitch in previous row from back to front"

MINI BASKET WEAVE STITCH INSTRUCTIONS

Multiple: 2

Row 1: Ch a multiple of 2 to desired length, dc in 4th chain from hook and each ch across, turn.

Row 2: CSdc, *BPdc, FPdc; rep from * to last st, dc, turn.

Row 3: CSdc, *FPdc, BPdc; rep from * to last st, dc, turn.

Repeat Rows 2 and 3 until desired measurement.

This is our first swatch using FPdc and BPdc, but it absolutely won’t be the last! See you next week for another Totally Textured Tuesday.

Text that says: "Crochet Tutorial: Mini Basket Weave, BQueen Collection + WeCrochet" above an image of hands crocheting a tan crochet swatch with a basketweave texture, with a wooden-handled crochet hook.
a photo of Makenzie of BQueen and her husband

Hi! I’m Makenzie from BQueen Collection and my husband I make custom wood crochet hooks while I also dabble in pattern design. We live in eastern Colorado, enjoy fishing and the outdoors, and have three young boys who keep us very busy (plus eight chickens because we eat soooo many eggs). We’d love to connect – follow us on Instagram @bqueencollection and see what we’re up to!