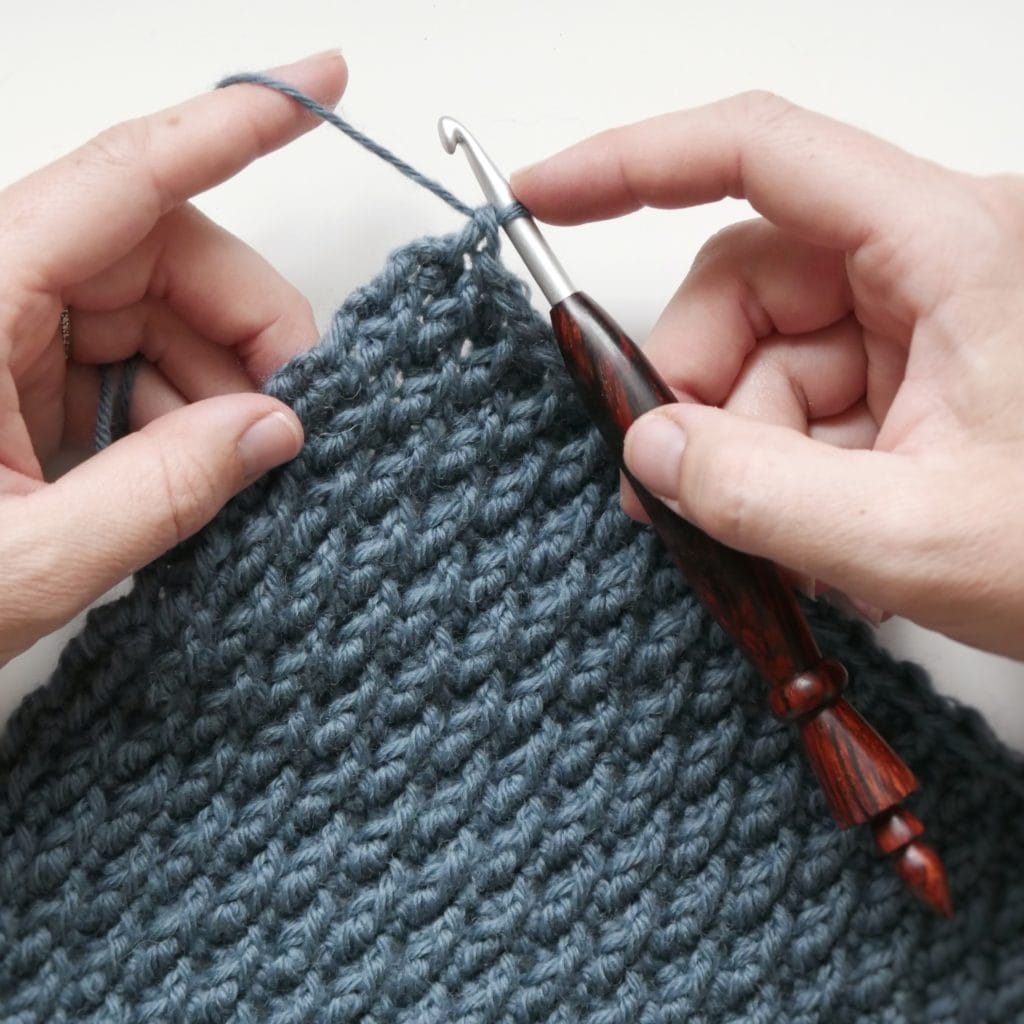
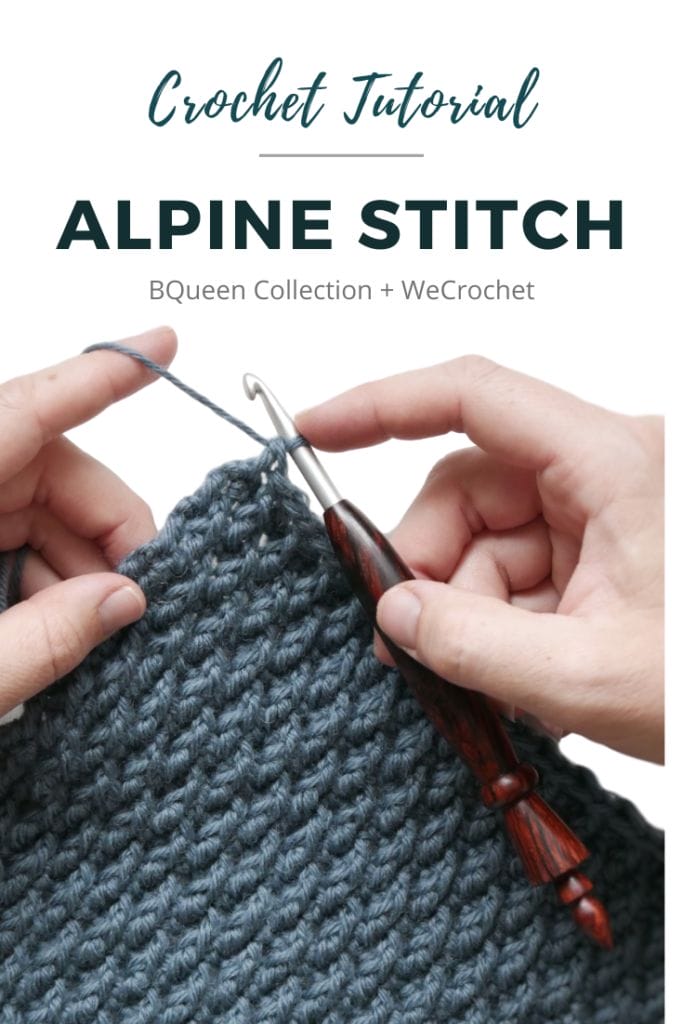
This week we are learning to crochet the Alpine Stitch. Join us for our Totally Textured Tuesday series, where you’ll learn a new crochet stitch every week!
BQUEEN COLLECTION #TOTALLYTEXTUREDTUESDAY
Hi again! Makenzie from BQueen Collection sharing another Totally Textured Tuesday stitch for our 12 week series of fantastic stitches that are great for texture. It’s already week 10 and I have another stitch for you to try!

Week 1: Single Crochet Back Loop Only (sc BLO)
Week 2: Blanket Stitch
Week 3: Even Moss Stitch
Week 4: Mini Basket Weave
Week 5: Bar Stitch
Week 6: Even Berry Stitch
Week 7: HDC FL + BL
Week 8: DC Cluster
Week 9: Mini Bean Stitch
WEEK 10: Crochet ALPINE STITCH

If you’ve ever searched Pinterest for crochet stitches, the Alpine Stitch has surely popped up. It’s super popular and easy, and it adds a very unique texture, so if you haven’t tried it yet – get on the bandwagon! In fact, our WeCrochet photographer Regan made an entire sweater using the Alpine Stitch:
We want to see it! If you try any of the stitches with us during the series, tag us @WeCrochetOfficial and @BQueenCollection AND use #totallytexturedtuesday so we can share!
MATERIALS
Any yarn or hook will do, but here is what I am using:
- WeCrochet Wool of the Andes Superwash / Cadet
- BQueen Collection Blend Hook I – 5.50mm / Rosewood
ABBREVIATIONS
- ch: chain
- rep: repeat
- st(s): stitch(es)
- sk: skip
- RS: right side
- WS: wrong side
- sc: single crochet
- dc: double crochet
- FPDC: Front Post Double Crochet
- CSDC: chainless starting double crochet (this substitutes a chain three turning chain for the beginning of every row, which if you’re not familiar with – check it out HERE. This will count as your first stitch for every row, and you’ll work in to the top of this stitch when finishing your next row.)
INSTRUCTIONS
Multiple: 2
Row 1 (WS): Ch to desired length, sc in 2nd ch from hook and in each ch across, turn.
Row 2 (RS): CSDC, dc in next st and each st across, turn.
Row 3: Ch1, sc in each st across, turn.
Row 4: CSDC, *FPDC around the dc below the next st, dc in the next st; repeat from * until the end of the row, turn.
Row 5: Ch1, sc in each st across, turn.
Row 6: CSDC, dc in next st, *FPDC around the dc below the next st, dc in the next st; repeat from * until the last st, dc, turn.
Repeat Row 3 – 6 until desired measurement.
That’s it! We’ll see you next week for another Totally Textured Tuesday!

Hi! I’m Makenzie from BQueen Collection and my husband I make custom wood crochet hooks while I also dabble in pattern design. We live in eastern Colorado, enjoy fishing and the outdoors, and have three young boys who keep us very busy (plus eight chickens because we eat soooo many eggs). We’d love to connect – follow us on Instagram @bqueencollection and see what we’re up to!