Follow along and discover your next inspiration as we cast on for projects we love, explore new techniques, and dish about the latest and greatest from We Crochet.
Meet the team »
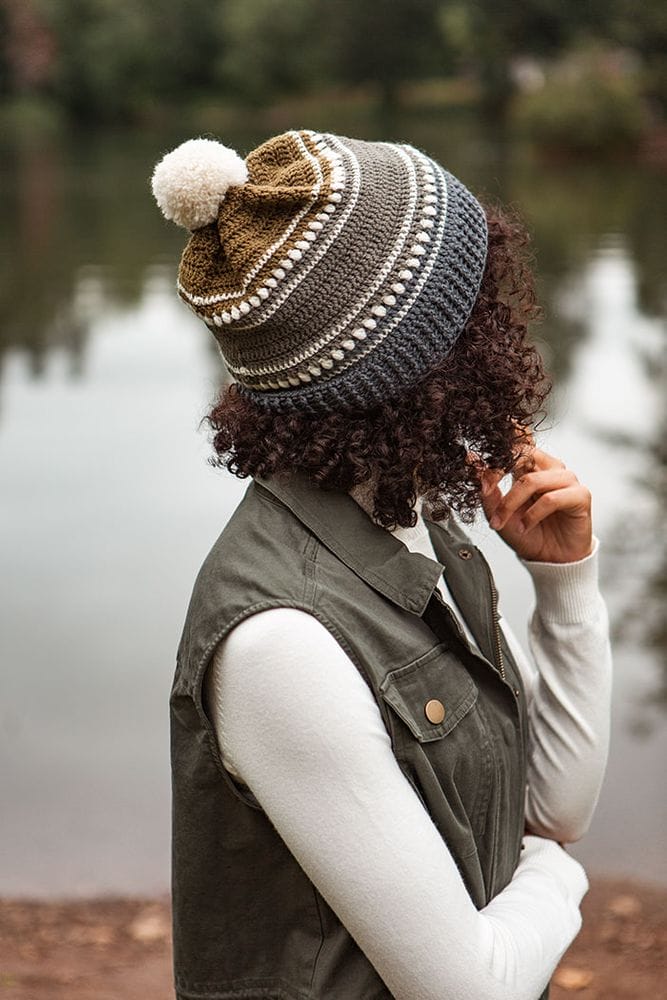
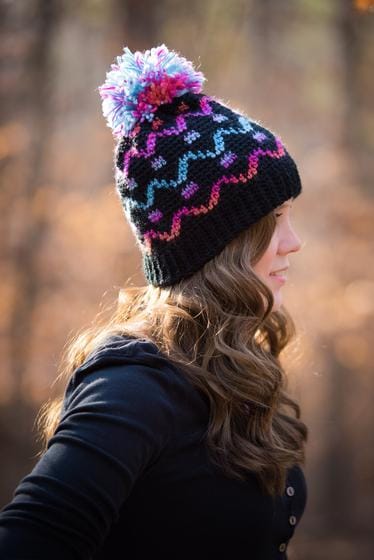
Pom-poms can take your finished hat to the next level. Sometimes adding a pom-pom is the perfect way to finish a beautiful crochet hat! In this article, we’ll show you how to attach a pom-pom to a hat in various ways, both removable and permanent.
Shopping for a pom-pom will reveal that there are a few different options of what you can get and different ways of attaching them.
The Brava Beanie, with added embellishments and a pom-pom
Removable pom-pom or no?
Once you have selected the perfect pom-pom for your project you will need to decide if you are going to make it removable or permanent. Selecting a removable pom-pom for your hat makes it easier to wash your hat, to switch out the pom color on a whim, or use the same pom-pom on multiple hats.
On the WeCrochet website you will find a selection of pom-poms, in both 8cm and 12cm diameters, which come with a string that you can tie onto your hat. Threading the string through the hole at the top of your hat is a great way to attach your pom-pom. If you don’t want it to be removable you can sew it into place.
How to attach a removable pom-pom
Attaching a removable pom-pom can be done in a few ways.
How to attach a pom pom to a button: Using a flat button without decoration, like these coconut buttons, will make it a more comfortable fit on your head. The button just needs to be large enough so that it doesn’t slip through the starting hole at the top of your hat.
These photos show: Threading a pom-pom string through the top of a hat.
These photos show: threading the string through the button and tying a bow.
After threading your pom-pom through the hole at the top of your hat you will then want to thread the button onto the string on the inside of your hat. Tying a knot around the button will allow you to untie your pom-pom later when you want to wash it, or change the color. If your pom-pom comes with ribbon attached you won’t need to use the button, but it is still recommended for a more secure finishing.
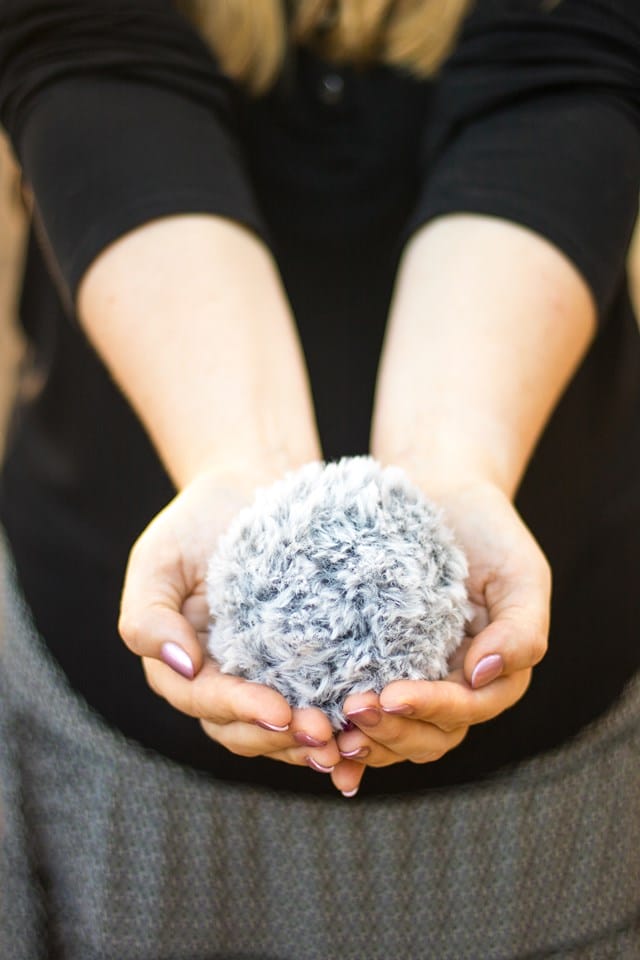
No strings on your pom-pom? That’s okay! You can add your own strings to purchased pom-poms or ones that you make. This is easier when you are using yarn to make your own pom-pom, by using a pom-pom maker, but still possible if you make it with faux fur yarn, like the WeCrochet Fable Fur.
Take a sharp needle, like one of our lace darning needles, and sew a strong thread through the pom-pom, making sure to get a few layers making it secure. From here you would thread it through the top of your hat and then through a button and tie your knot or bow.
Snaps are another great way to add a pom-pom to your hat. By sewing one half of the snap to your pom-pom you can stick the other half out the top hole of your hat. Snap the two parts together and you will have a secure pom-pom that can be taken off whenever you want.
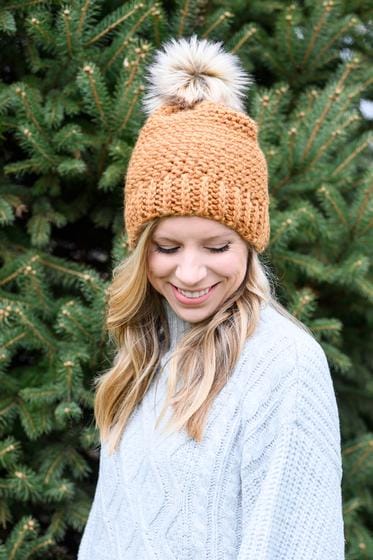
Now that you know how to attach a removable pom-pom, grab one of these 5 crochet hat patterns and get started on your next project!
I’m a new crocheter. I grew up surrounded by crochet—my mother did it, my aunts did it, my grandmothers did it, so naturally I rebelled and learned to knit. I have been knitting since the early 2000s and have really enjoyed it. I had an interest in crochet; I even bought some hooks but truly didn’t know where to start. I just wanted to skip all the learning parts and get to the point where I was crocheting little stuffed animals that made people “Ooooo”.
The Brava Beanie Crochet Along felt like the moment to throw myself into crochet. The idea of making a hat felt more interesting than a dishcloth or afghan which as the two things people had suggested to me in the past to start with. Plus I already owned crocheted dishcloths and afghans made by my mom who continues to make me more on a regular basis. (Thanks Mom!) Hats appealed to me. I also liked that it was going to be a project for someone else, for a cause, for Warm Up America.
Here’s what I learned from making my Brava Beanies:
1.) I don’t know what I don’t know and that’s ok
I started and frogged the Brava Beanie five times before I asked for help. I didn’t know what the pattern was saying when it said, “Rnd 1: Ch 1, 7 SC into the center of the ch-4 lp, join with sl st. 7 sts.” What?! I read this sentence over and over and it didn’t make sense. Where was I supposed to insert my hook? How was I supposed to Single Crochet 7 times when there were only 4 stitches plus a chain?
I had learned how to make a chain, insert my hook in the chain, slip stitch and single crochet from the WeCrochet Youtube tutorials but I was still confused. Thankfully there were people around me that could sit with me and answer these questions. Sara Dudek, WeCrochet Brand Director, showed me where to enter my hook. Ah.
At that moment everything became clear to me. I realized I was thinking too much like a knitter and needed to let go of any preconceptions I had. I realized that crochet was the jazz of yarn, you can do almost anything and put your hook anywhere.
I realized that crochet was the jazz of yarn, you can do almost anything and put your hook anywhere.
While there is structure with an end product as a goal, you can kind of do whatever you want. I learned that if something didn’t make sense to me, I just needed to seek help. I also found I wasn’t alone – so many people on Ravelry and Youtube were also there for me.
2.) Embrace imperfections
After finally deciding to keep going with that first hat, I got excited as it started to look like a hat and then got a little frustrated. Looking at it, I could see all the times I messed up – I put my hook in the middle of a split stitch or where I inserted the hook in the top look on one stitch and the bottom loop on the other. Some of the stitches were tight and some were loose. I was annoyed but then it put it on my head for an afternoon.
I took a deep breath and I made peace with it. It was still obviously a hat and was fine. I just learned this new craft, of course it’s not going to be perfect. It didn’t have to be perfect. Why did I expect to be perfect at something I just learned? It was going to be fine.
I just learned this new craft, of course it’s not going to be perfect. It didn’t have to be perfect. Why did I expect to be perfect at something I just learned? It was going to be fine.
3.) Trust the pattern
After doing one hat I decided I didn’t have to look at the pattern ever again. I went rogue and then ended up with a big circle and ran out of yarn. I begrudgingly looked at the pattern and realized that I increased way way way too much and lost track of where I was supposed to slip stitch and chain one.
On my third Brava Beanie, I didn’t use Brava Yarn and didn’t follow the pattern exactly. I truly wanted to figure out the pattern as if I was discovering it and not just following it. This hat turned out on the larger side because I increased too much yet again. Thankfully I made it with Alpaca Cloud so I purposefully shrunk it (by putting it in the washing machine and dryer) which made it extra soft and a lot more wearable.
I started to really study the pattern and read it over and over to really set it to memory. Part of my problem with following patterns was having to look at it while working on it felt disruptive to the rhythmic flow of crochet.
4.) Make it my own
After two more pretty successful Brava Beanies, I decided it was time to level up my skills. I first tried doing some ribbing which didn’t really work out.
The next hat I tried holding two yarns together which turned out well. This is the hat I’m probably most happy with as it just looks and feels nice and doesn’t have any noticeable mistakes.
For my next hat, I asked Sara to crochet tutor me in doing some ribbing which ended up looking really nice. You can hear this on the Bonus episode of the WeCrochet Podcast. Adding ribbing was exciting for me because it looked good and took my knowledge of crochet in a new direction, literally and figuratively.
I really enjoyed exploring the Brava Beanie pattern and seeing what I can do with it. It was a good excuse to use a lot of different yarns.
5.) Enjoy the process
Overall, this felt like the perfect first crochet project for me. I got to that zen moment of not having to work at crocheting and instead just enjoying it. I had a bad attitude about crochet for so long that I needed something like this CAL and open me up to it. Listening to Heather and Sara on the WeCrochet Podcast helped because they are always so inspiring about the learning the process.
I also liked going on Ravelry and seeing other people sharing their Brava Beanies. There’s a special kind of magic that happens when you know that other people are making the same project at the same time.
I got to that zen moment of not having to work at crocheting and instead just enjoying it.
6.) I learned how to crochet!
The most important thing I learned from the Brava Beanie CAL was that I learned how to crochet! I learned how to hold my hook. I learned how to read a pattern. I learned how to make a chain, slip stitch, join in the round and single crochet. I made 9 Brava Beanies (8 that are wearable and one that is basically a big weird circle) with different yarns. I learned that I really like to crochet. I learned about myself.
Hear more about (Producer) Sarah’s Brava Beanie journey on the WeCrochet Podcast.
In this special BONUS EPISODE of the WeCrochet Podcast, Sara and Heather offer a look at the behind the scenes of how crochet designs get to WeCrochet. Sara and Producer Sarah talk about adding ribbing to Producer Sarah’s Brava Beanie. Lastly Heather and Regan continue their discussion of Fable Fur by diving into how people have actually used it in their crochet projects.
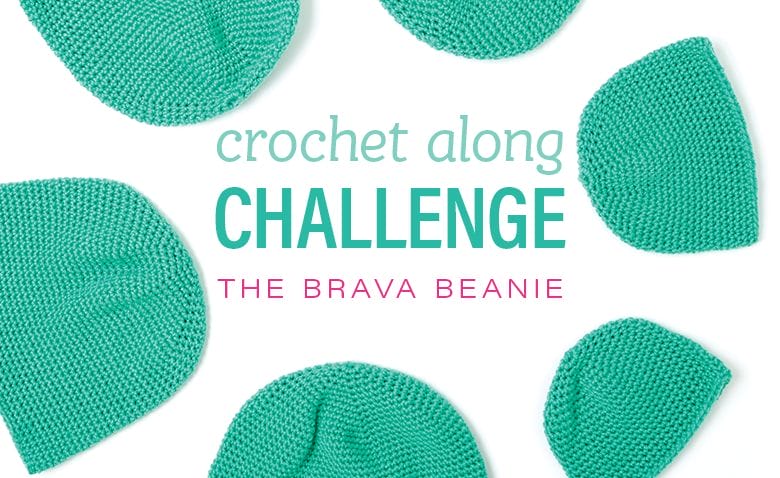
The Brava Beanie is the ultimate crochet hat pattern! Written for six sizes, this is the ideal hat to make for charity projects, or as gifts. It’s simple and quick-to-make, giving you the freedom to dress it up however you like. We designed it for use with our value priced premium acrylic yarn, Brava Worsted (only $1.99 for 100 grams!), but you can use it with any worsted weight yarn.
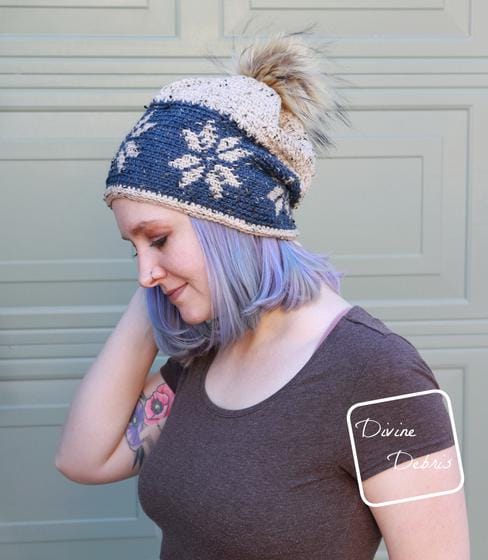
The Brava Beanie is made from the top down in single crochet. Simple increases at the crown alter the sizing. Once you master this simple pattern, add stripes, tapestry patterns, spike stitches and more. With the many colors available in Brava Worsted, you’ll be able to make this hat uniquely your own.
Customize the Brava Beanie however you like! You can add stripes, pom-poms, faux fur trim, or whatever you like!