Welcome back! I’m blogging through my progress on the Light Touch Pullover Crochet Along (CAL). Today I’ll talk about which yarn I chose for the project, as well as my progress on both the front and back of this lovely sweater. Read on!
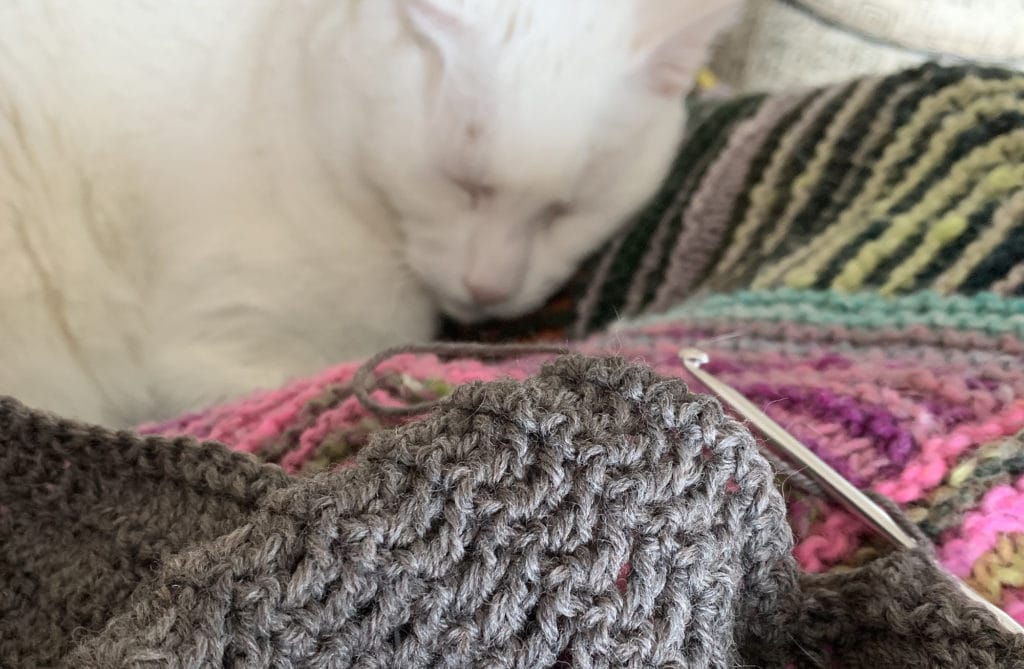
There is nothing I love more than a project that just flies off the hook! Right now, my Light Touch Pullover is that kind of project.
What Yarn Did I Choose?
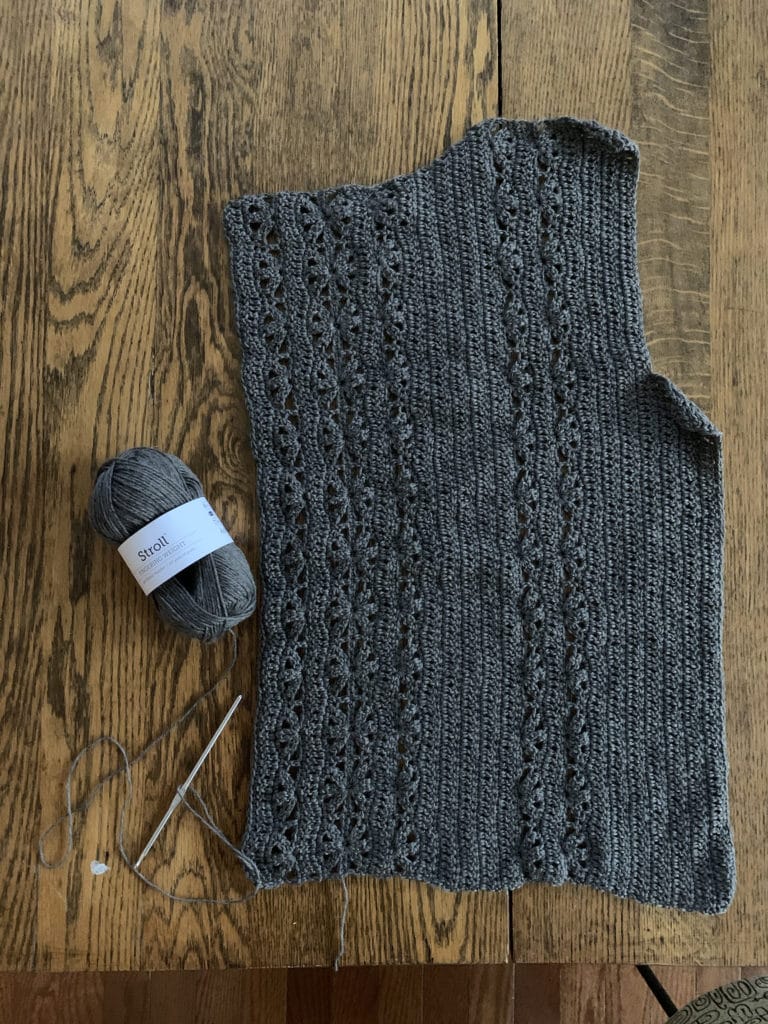
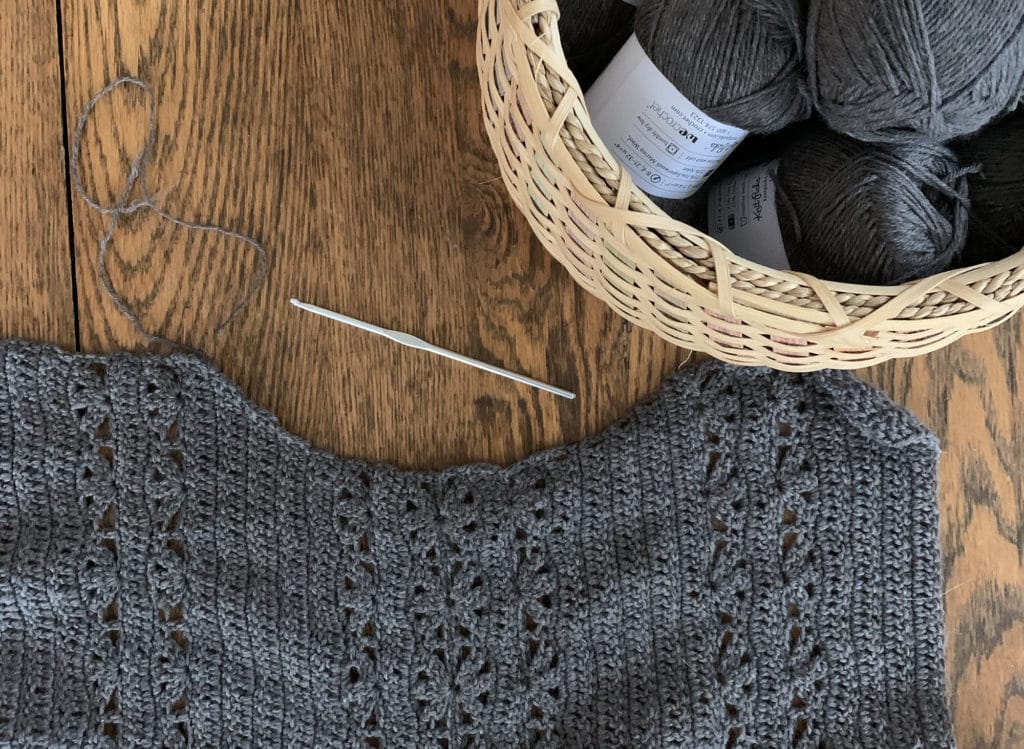
After testing the 3 different options for yarn, I decided to go with Stroll for my sweater. It’s deliciously soft and is available in so many colors. I ultimately decided that Jack Rabbit Heather was the one for me. It’s a beautiful gray-brown that has just the slightest hint of a pale purple undertone. It’s a color I don’t currently have in my handmade wardrobe and it will pair beautiful with denim. I tend to wear jeans … a lot. So a color working with a denim is a must for wearability for me.
How Did I Get Gauge?
You might remember in my last post that I was struggling to reach gauge. My swatches kept growing larger than the recommended gauge in the pattern. I was able to solve this issue doing two things.
- First, I went down a hook size which got me spot on to row gauge.
- Then, I changed my style of blocking. Instead of wet blocking, I tried just lightly misting the piece with squirt bottle water, pinning to size, and allowing to dry. This worked like a dream and my finished project should fit just how I hope.
Starting the Back of the Pullover
This project starts by working the Back piece front the center out before moving on to the Front and Sleeves. It’s then finished by working the Neckline and Hem. This all seems straightforward, but I have a crafty confession to make; I had to restart this project three times. I struggled to count my stitches properly and being off by just one stitch will cause the lace repeat not to work out correctly. So, as you start your sweater, take the time to slow down, count your stitches, and don’t feel bad if you have to start again. You aren’t alone.
Apart from the beginning chain, there was only one other area that caused me to misstep. There are instructions at the end of Row 15 that tell you to attach a new yarn at the top of the turning chain of the same row and chain two stitches. I could not wrap my head around why the pattern called for this or what to do with the chains when I had them. I decided to go to the designer, Natasha Robarge, for help.
These two extra stitches help shape the neckline. Once you chain them, you work a double crochet in each to extend the row. Yes, it’s as easy as that! Your following row is two stitches longer and the neckline has a lovely gentle scoop.
Working the Front of the Pullover
The Front piece of the Light Touch Pullover is worked the same as the Back, just with a few less stitches which makes a deeper scoop to the neckline. Instead of two chain stitches at the end of Row 15, you work ten more stitches.
Both the Back and Front pieces flew off my hook so quickly that I decided to jump ahead and block them. I didn’t want to wait to finish the sleeve and then block all four pieces. I also love the satisfaction of seeing a beautiful piece all pinned out and ready to seam. It feels so close to done!

And off to Sleeve Island
Sleeve Island is where I’m headed next though. I’ll report back soon with details on how they’re worked, how they are seamed into the body pieces, and any tips I discover along the way.
Until then, have you ordered your yarn to start your Light Touch Pullover? Have you had a chance to start? Tell me in the comments below if you had to start over a couple of times too! It will help me feel better about my false starts.