Tag Archives: tutorial

How to Make Pom-Pom Ornaments
How to make pom-pom ornaments: a snowman and a gnome pom-pom ornament.

Pom-poms are one of our favorite things to make (especially when made with a pom-pom maker… one of our favorite tools!), but what happens when you use pom-poms to make ornaments? CUTENESS overload!

I taught our company staff how to make these ornaments last year as part of our holiday festivities, and everyone had so much fun making their own custom ornaments that I KNEW I had to pass it along to you.

The supplies for making these ornaments are inexpensive (and you probably already have things around the house that will work well), especially if you use stash yarn. HOWEVER, I really love using Tuff Puff for making pom-poms because you can make them super quickly, and they turn out so full and fuzzy.

Read on to learn how to make a Pom-Pom Snowman / Snowperson ornament and a Pom-Pom Gnome ornament.

Pom-Pom Ornaments Supplies:

  • White Tuff Puff (or white yarn of your choice)
  • White sock yarn, cord or thread (We used Bare Hawthorne)
  • Felt, various colors, including orange
  • Pom-pom makers
  • Scissors
  • Toothpicks (or “mini craft dowels”)
  • Wooden buttons
  • Black beads
  • Mug for circle template
  • Hot glue gun and glue sticks
  • (Optional) Red & white striped pipe cleaners + wire cutters

To make Pom-Pom Snowman Ornament:
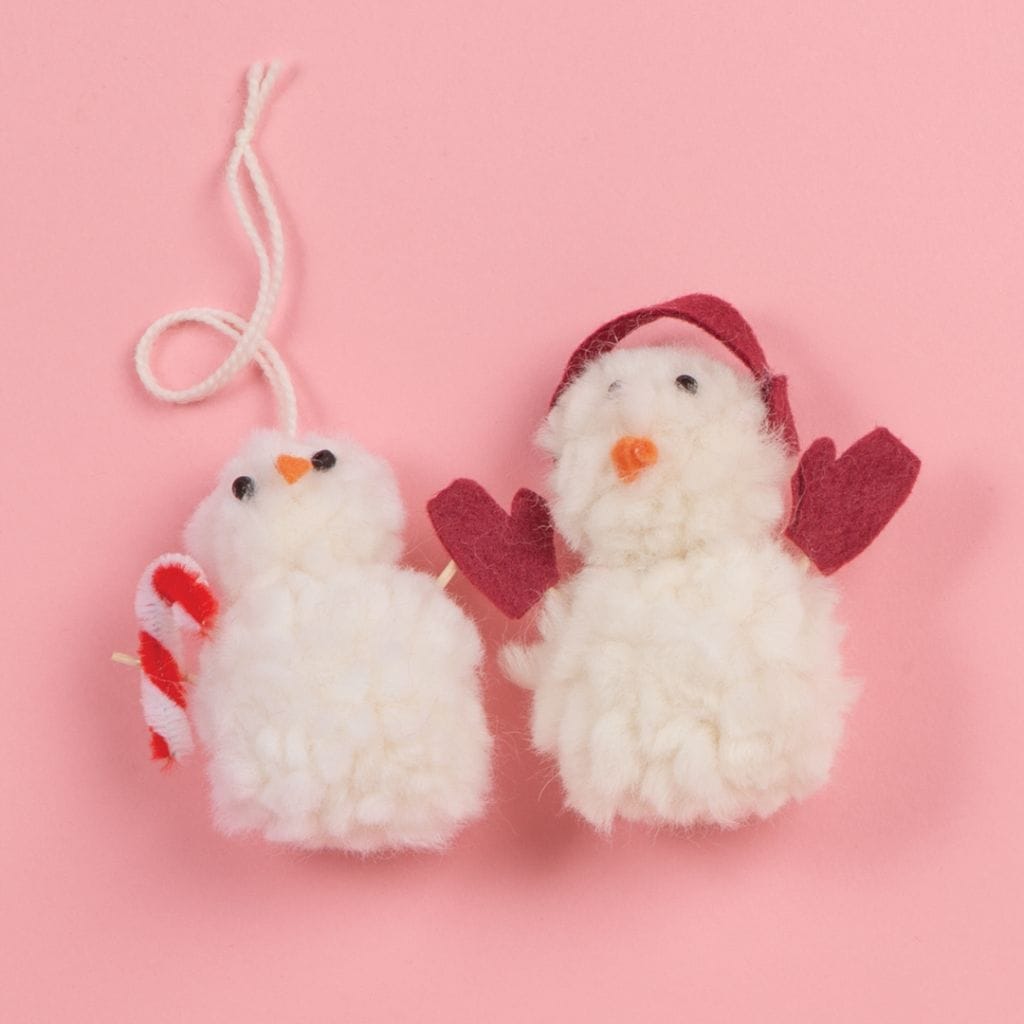
Two snowman pom-pom ornaments.

Snowman (or “Snowperson” as we call them in the office) Ornaments are so cute you’ll want to make several of them. Once you’ve made one, show your family how to make them too so everyone can get in on the fun. Each snowpersonality will emerge as you add accessories, so get creative!

  1. Snowman Body: First, make 2 pom-poms from white Tuff Puff using 2 different sizes of pom-pom maker (I used the small & medium pom-pom makers).  Quick Note: We have a video on our Youtube that demonstrates how to use a pom-pom maker.
    • Wrap pom-pom maker, close, then cut according to directions.
    • Tie around pom-pom securely with Hawthorne (or other strong cord), cut to about 12”.
    • Open up the pom-pom maker to release the pom.
    • Give pom-pom a “haircut” to even out the yarn. Leave Hawthorne tie long for hanging ornament.
    • Glue both poms together, leaving the tie at the top of the small pom.
  2. Earmuffs: Next, cut 2 small circles and a 1.5” rectangle for the headband from felt.
    • Glue circles to ends of rectangle to make the headband.
    • Hot glue earmuffs to pom-pom head to secure.
  3. Arms: Snap toothpick in half. Cut mitten shapes from felt and glue to the ends of half toothpicks. Hot glue toothpicks into pom-pom body.
    • Use a 1″ piece of pipe cleaner (cut with wire cutters) as a candy cane, if desired.
  4. Face: Use a small snippet of orange felt to make a carrot nose. Glue onto face.
    • Use a toothpick to pick up black bead and dip in hot glue, then glue it to the face as eyes.

Related Article: How to Use a Tassel Maker

To make Pom-Pom Gnome Ornament:
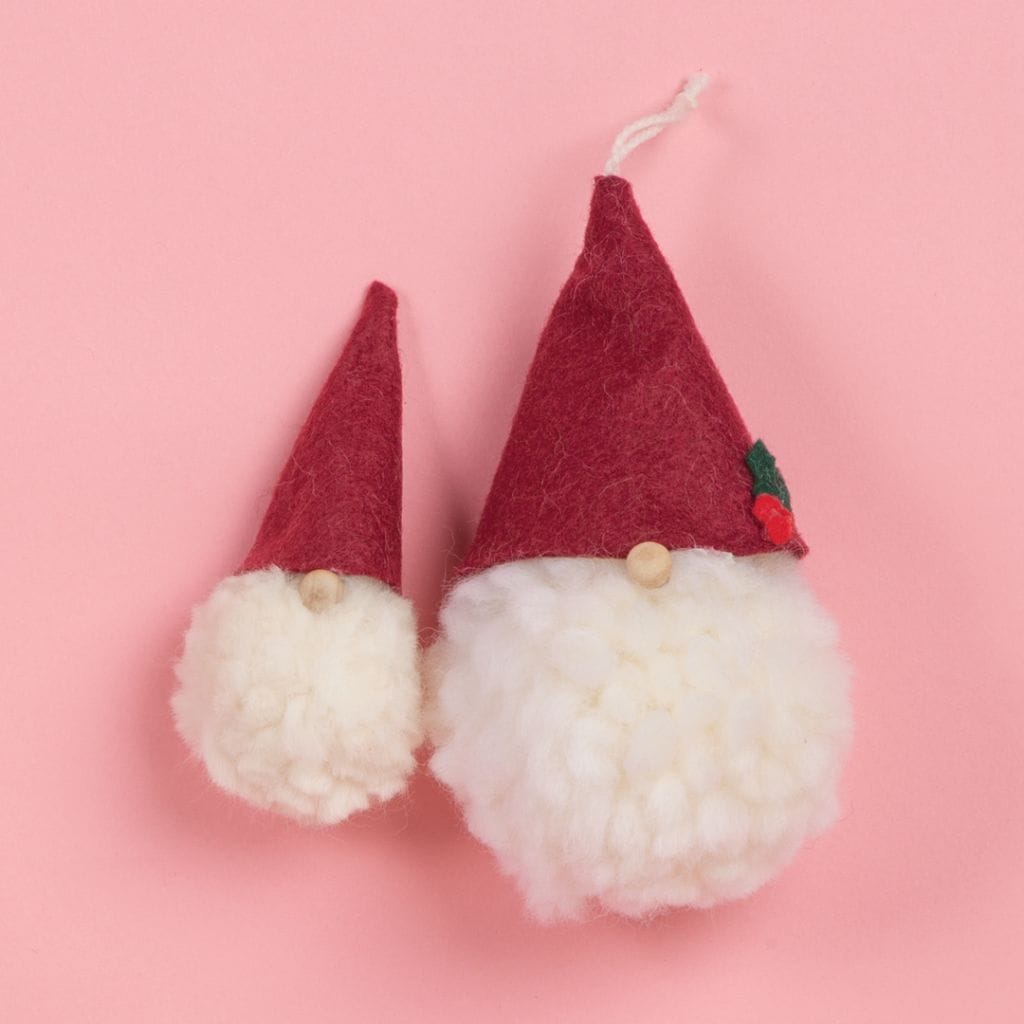
Two gnome pom-pom ornaments.

Nothing is cuter than these Nordic-inspired pom-pom gnome ornaments, and they’re so easy to make. Keep them minimal (in keeping with Nordic style), or go crazy and add any embellishments you want. One person in our office used a jumbo pom-pom maker to make a very large gnome ornament!

  • Head: Make a pom-pom from white Tuff Puff using larger pom-pom maker
    • Wrap pom-pom maker, close, then cut.
    • Tie around pom-pom securely with Hawthorne, then cut to about 12”.
    • Open up the pom-pom maker to release the pom.
    • Give pom-pom a “haircut.” Leave Hawthorne tie long for hanging ornament.
  • Hat: Make a hat with felt using a mug as a circle template. Slit circle from side into middle and then form into a cone, securing with hot glue. 
    • Slip Hawthorne tie through hole in top of hat for hanging ornament (note: a small crochet hook can help you slip the cord through the hole easily). 
    • Hot glue hat to pom-pom head to secure.
  • Nose: Hot glue wooden button just peeking out under hat.

You might also enjoy: 7 Plaid Crochet Patterns to Make

If you make some pom-pom ornaments, don’t forget to tag us on social media so we can see them! @wecrochetofficial on Instagram.
How to make Pom-Pom Ornaments: Two gnome pom-pom ornaments.


Tutorial: How to Make a Crocheted Flower Wreath
How to make a crocheted flower wreath: an image of a wreath covered in crocheted flowers

Hooray, the Spring Issue of WeCrochet Magazine is now available, and in this issue we provided 10 Ideas for Crocheted Flowers. Today let’s learn how to use your flowers to make a crocheted flower wreath!

Crocheted flower wreath project supplies: a wreath form, yarn, and a crochet hook

Project Materials Needed:

  • 10 Crocheted flowers
  • A foam wreath form
  • Yarn
  • A crochet hook (to match yarn size)
  • Straight pins
  • Scissors
  • (Optional) Greenery or other wreath accents

A note about the project materials:

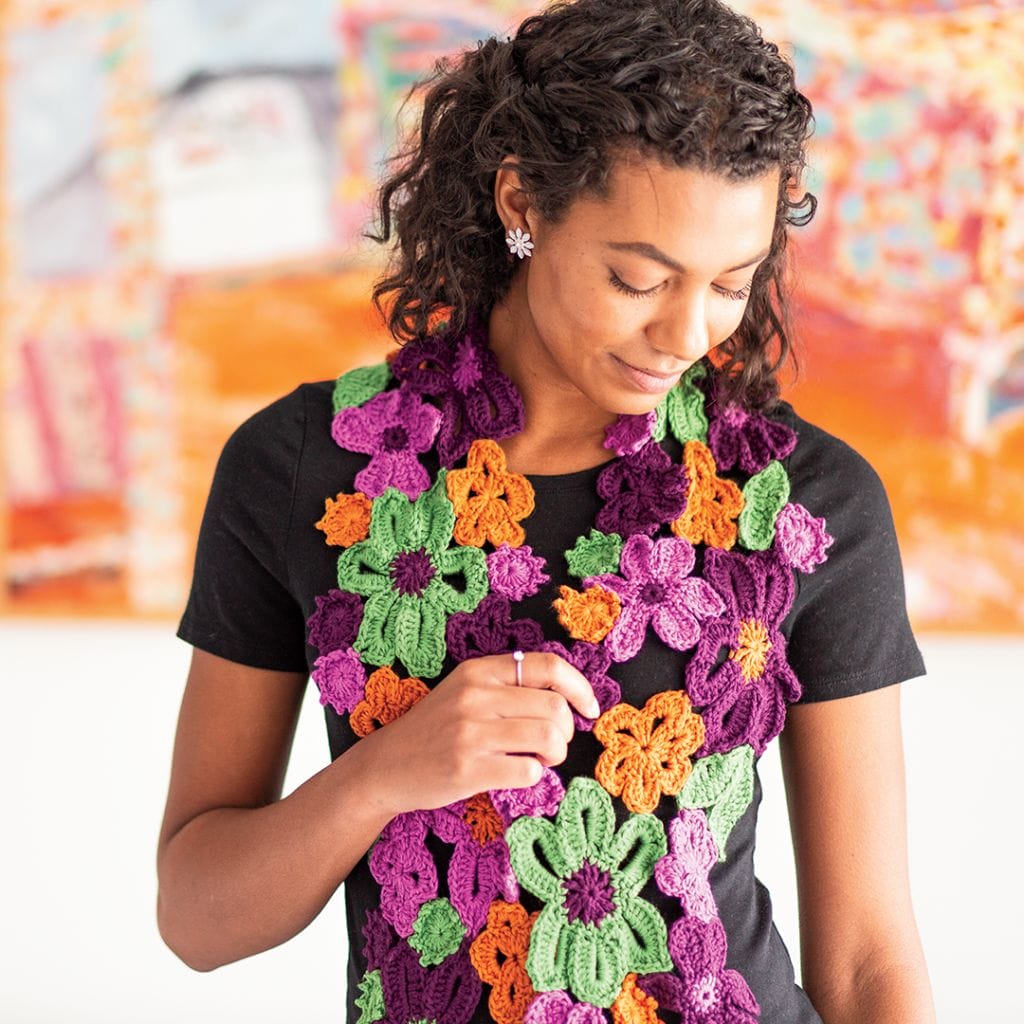
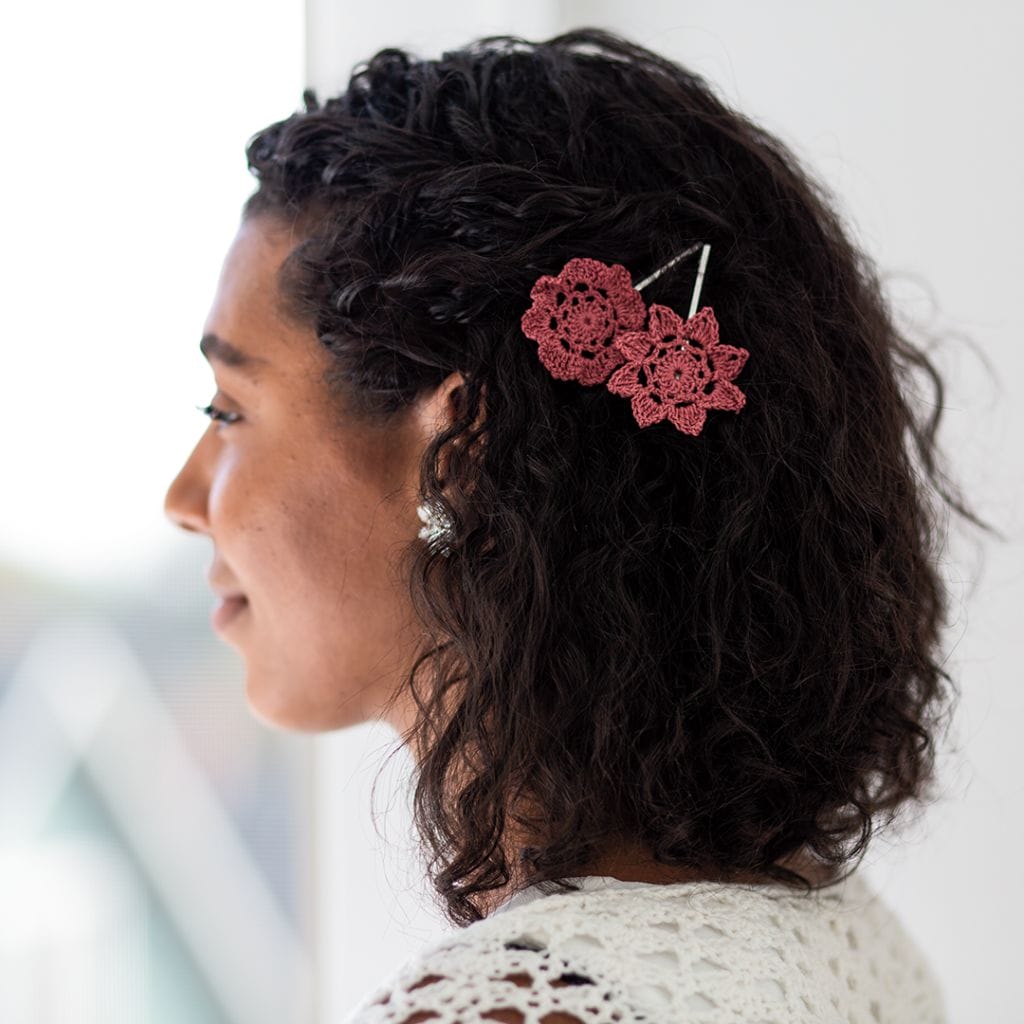
Crocheted flowers: You can use any crocheted flower pattern you want, or make up your own. For our wreath, we used flowers from the Flower Garden Scarf pattern, and the Flower Girl Hairclip pattern, and crocheted them in Mighty Stitch Worsted.

  • NOTE: The number of flowers you need depends on the size of your wreath, the size of your flowers, and how full you want the wreath to look. Make it your own!

Wreath form: Ours is 10″ and from the dollar store.

Yarn: Use this to wrap the wreath form. We used Mighty Stitch Super Bulky to cover the wreath form.

Blocking Crocheted Flowers:

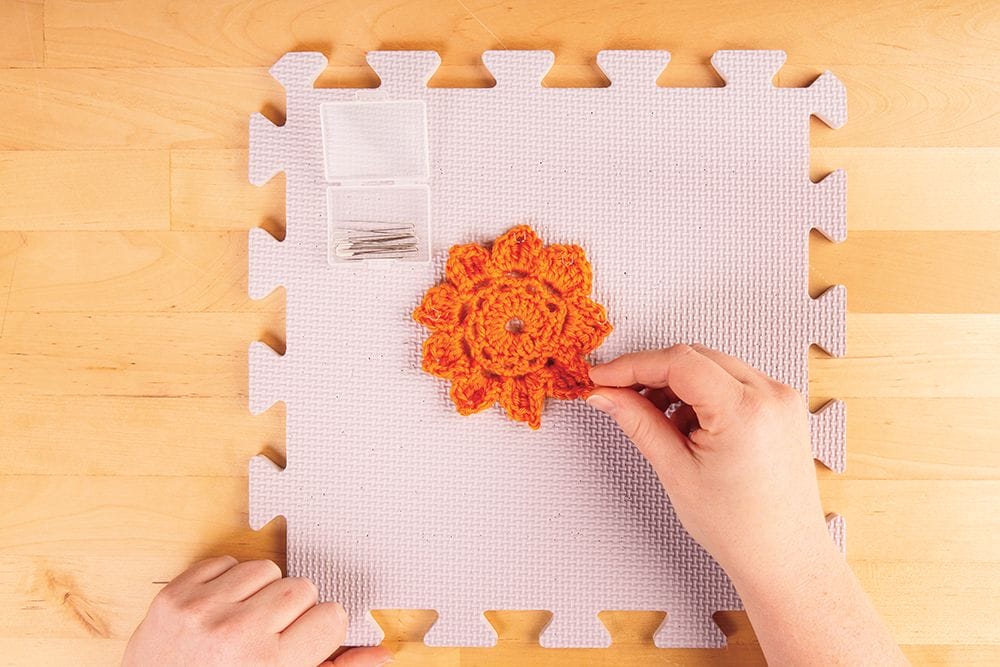
Before you begin assembling your wreath, block your crocheted flowers. To block the flowers:

Blocking crocheted flowers on a blocking mat, with T-pins

Mist flower with water, then pin it to a blocking mat to spread petals. Allow to dry.

Covering the Wreath Form with Yarn

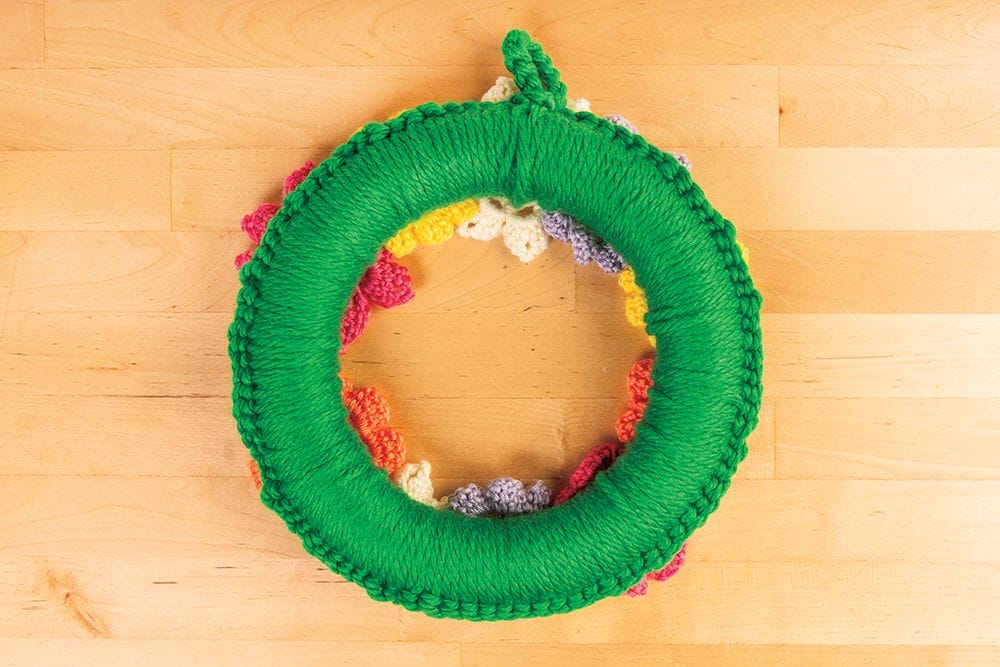
Covering a wreath form with yarn and crochet

To cover up the foam finish of our wreath form, we decided to crochet Mighty Stitch Super Bulky yarn around the form.

  • Alternately, you can just wrap the yarn around the wreath form, using a small dab of hot glue to secure the ends of the yarn.

How to crochet around a wreath form:

Covering a wreath form with yarn and crochet
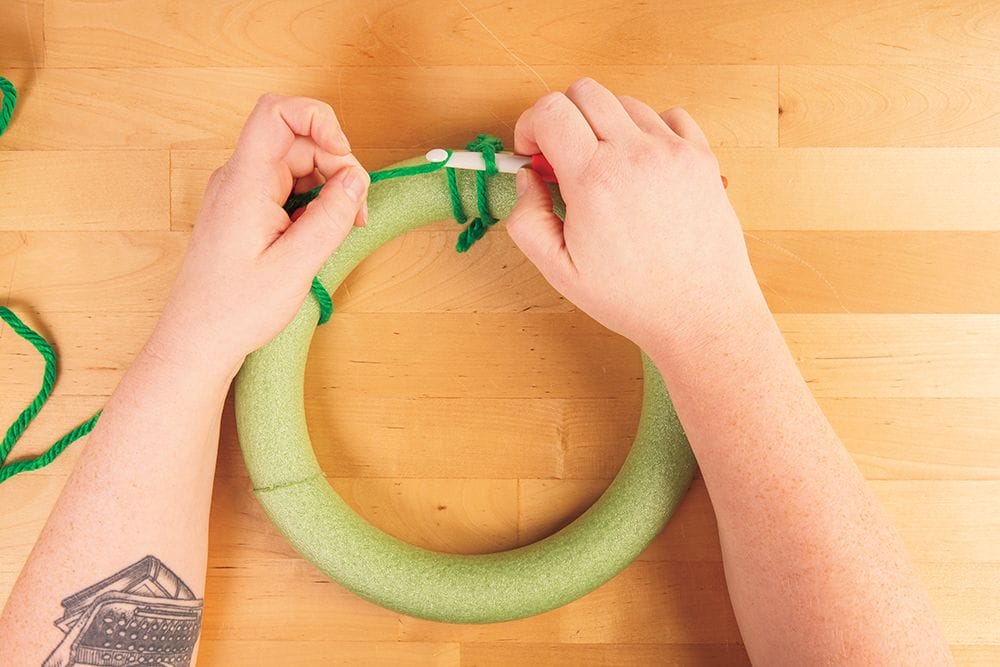
  1. Tie yarn around the wreath form, then insert hook inside the yarn circle around the form.
  2. Yarn over and pull a loop through. You have one loop on your hook.
Covering a wreath form with yarn and crochet

3. Wrap yarn around the form, going through the center of the wreath, and catch it with your hook. Pull yarn through loop on hook.

Covering a wreath form with yarn and crochet

4. Wrap yarn around the wreath in the other direction (around the outside of the wreath form), and catch it with your hook. Pull yarn through loop.

Covering a wreath form with yarn and crochet

5. Continue to crochet yarn around the wreath form this way, alternating between bringing yarn through the wreath opening, and around the back of the wreath, until the wreath is completely covered in yarn.

Keep your chain of loops around the outside of the wreath form.

Covering a wreath form with yarn and crochet

6. To finish, chain 10 to create a loop for hanging. Connect end chain to first chain to create the loop. Fasten off and cut yarn. Weave in any ends.

Decorating the Crocheted Wreath with Flowers

How to make a crocheted flower wreath: an image of a wreath covered in crocheted flowers

Now for the fun part! You get to decorate the wreath with your crocheted flowers and any other accents you want to add.

Pin the flowers on the wreath using straight pins with a small head (like dressmaker’s pins or floral pins). Arrange the flowers however you like!

Add other wreath elements, such as greenery or ribbons, and pin in place.

And, you’re done!

Like this tutorial? You’ll love WeCrochet Magazine, Issue 2!

WeCrochet Magazine issue 2 Cover and interior sample page

In this issue we feature two distinct crochet collections—first, Blooming Spring has 12 brand new crochet patterns that celebrate flower power with garden-inspired patterns, floral motifs, appliqués, and unique colorwork.

Next, Beloved features 12 original projects designed to help add a handmade touch to the ceremony of a lifetime. In this collection, you’ll find romantic accessories, garments, gifts, and party décor that will express your creativity on the big day.

Join our latest CAL with the Bobble Diamonds Throw. Read up on favorite crochet books, including and interview with author Salena Baca. Learn tapestry crochet, intarsia crochet, puff stitch, bobble stitch, popcorn stitch, horizontal puff stitch plus 10 ways to use a crochet flower!

We’ve added a lot of love to this issue, and we hope you find some patterns and ideas that YOU love! Let us know your favorite thing in the magazine by sharing with #wecrochetmag on social media.

How to make a crocheted flower wreath - tutorial from the WeCrochet Blog at crochet.com