Pom-poms can take your finished hat to the next level. Sometimes adding a pom-pom is the perfect way to finish a beautiful crochet hat! In this article, we’ll show you how to attach a pom-pom to a hat in various ways, both removable and permanent.
Shopping for a pom-pom will reveal that there are a few different options of what you can get and different ways of attaching them.

Removable pom-pom or no?
Once you have selected the perfect pom-pom for your project you will need to decide if you are going to make it removable or permanent. Selecting a removable pom-pom for your hat makes it easier to wash your hat, to switch out the pom color on a whim, or use the same pom-pom on multiple hats.
You might also enjoy: How to Make Pom-Pom Ornaments

On the WeCrochet website you will find a selection of pom-poms, in both 8cm and 12cm diameters, which come with a string that you can tie onto your hat. Threading the string through the hole at the top of your hat is a great way to attach your pom-pom. If you don’t want it to be removable you can sew it into place.
How to attach a removable pom-pom
Attaching a removable pom-pom can be done in a few ways.
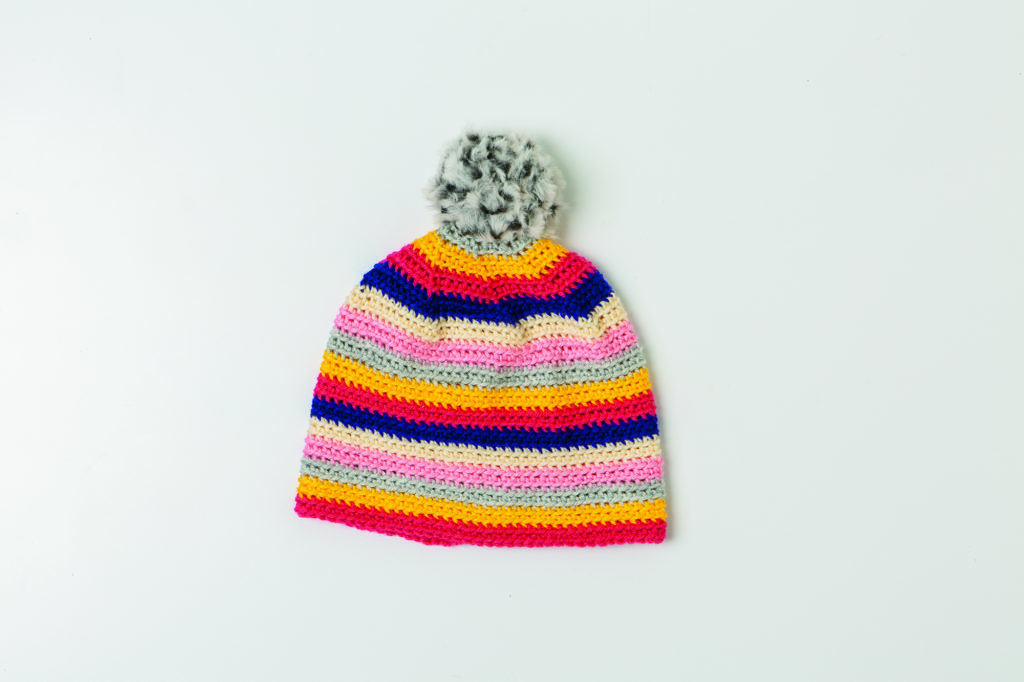
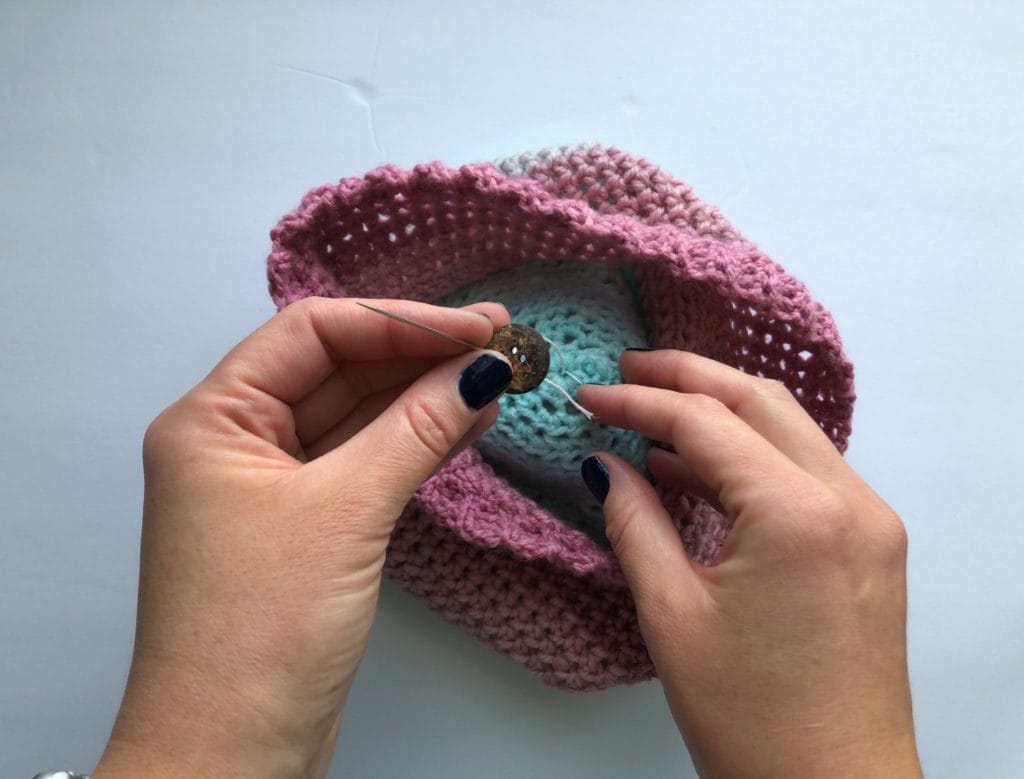
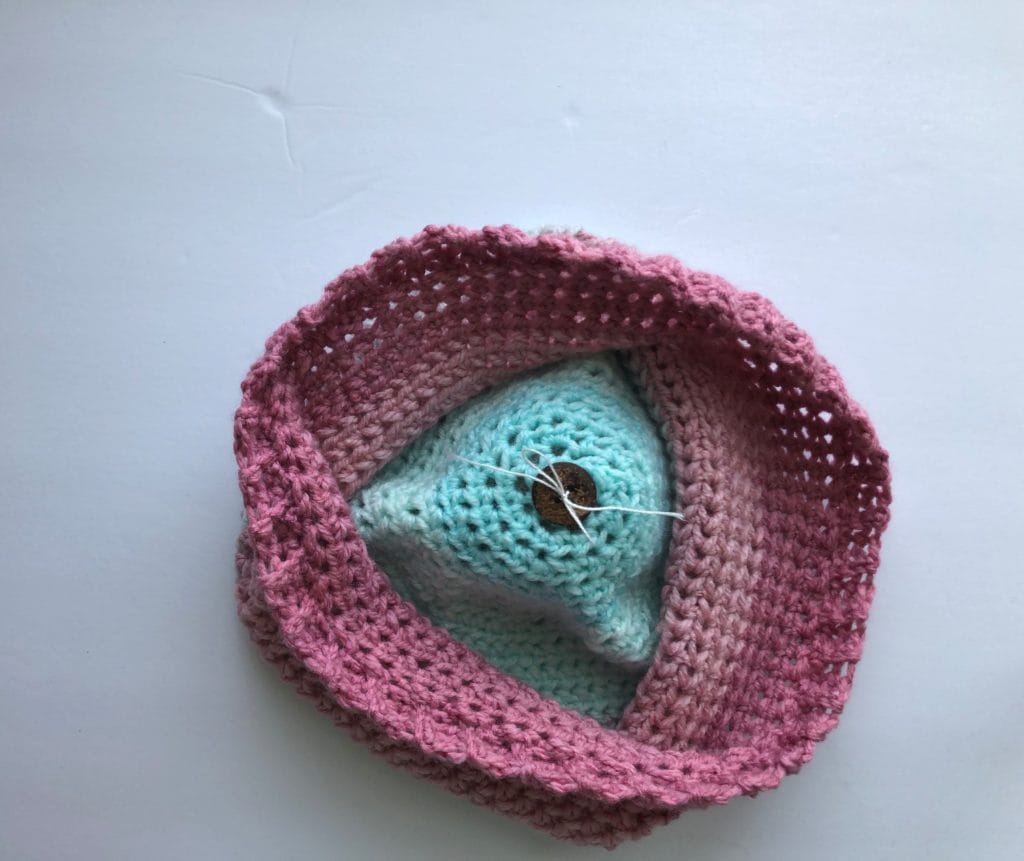
How to attach a pom pom to a button: Using a flat button without decoration, like these coconut buttons, will make it a more comfortable fit on your head. The button just needs to be large enough so that it doesn’t slip through the starting hole at the top of your hat.
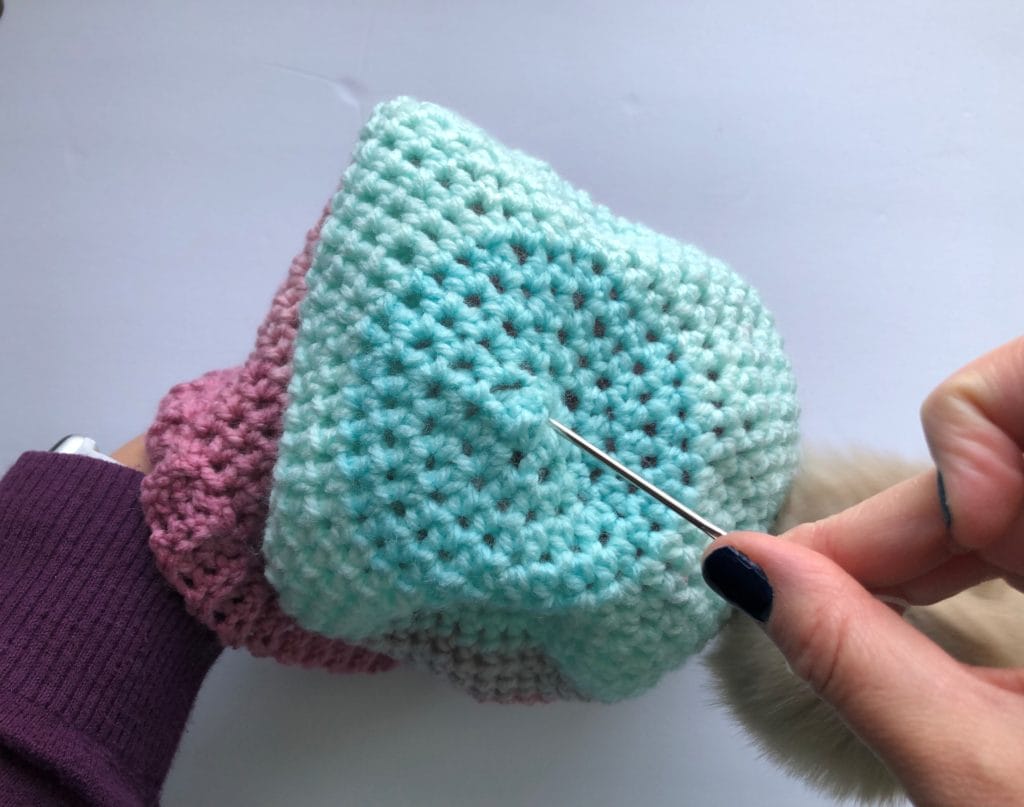
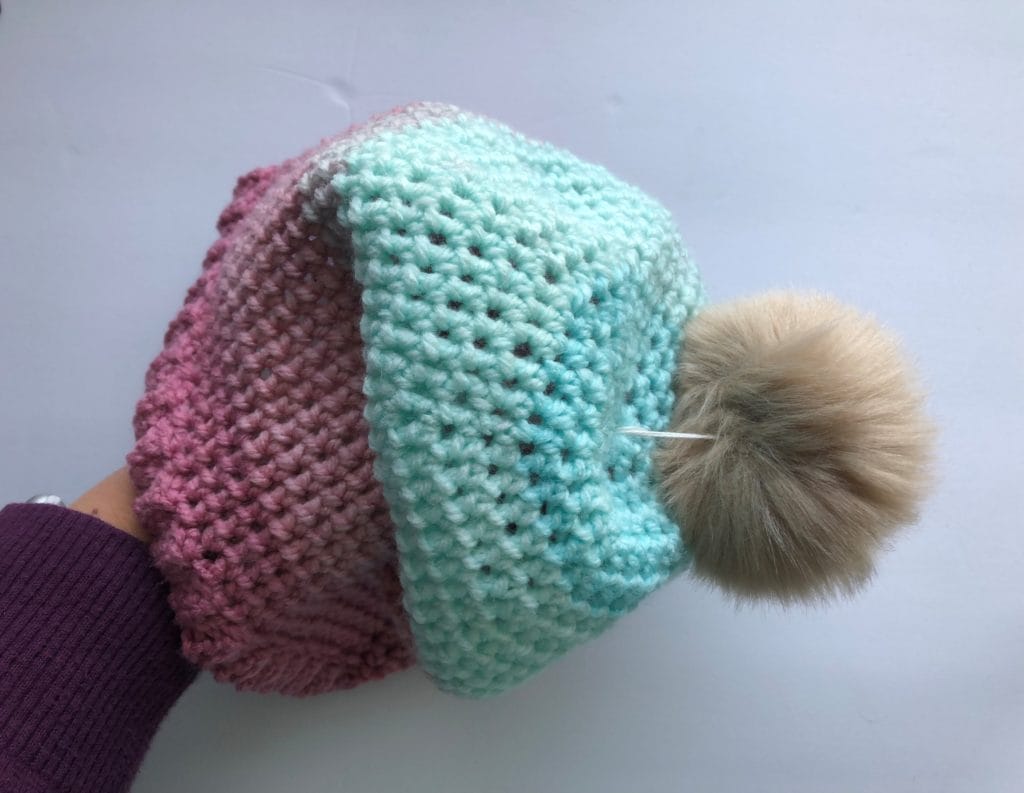
After threading your pom-pom through the hole at the top of your hat you will then want to thread the button onto the string on the inside of your hat. Tying a knot around the button will allow you to untie your pom-pom later when you want to wash it, or change the color. If your pom-pom comes with ribbon attached you won’t need to use the button, but it is still recommended for a more secure finishing.
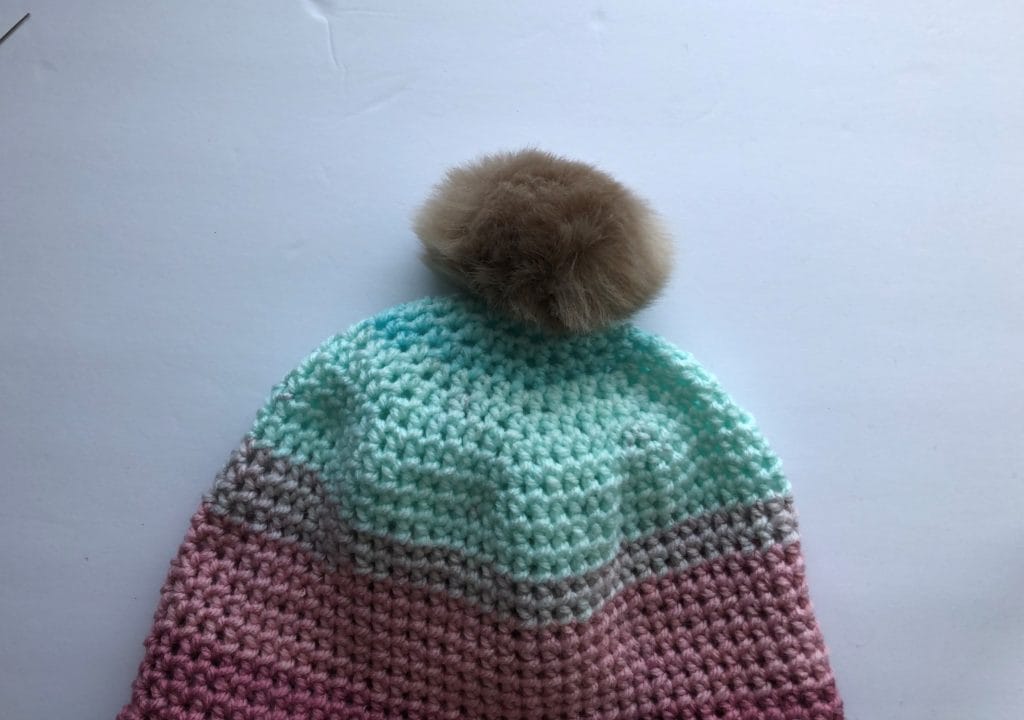
What if my pom-pom doesn’t have strings?
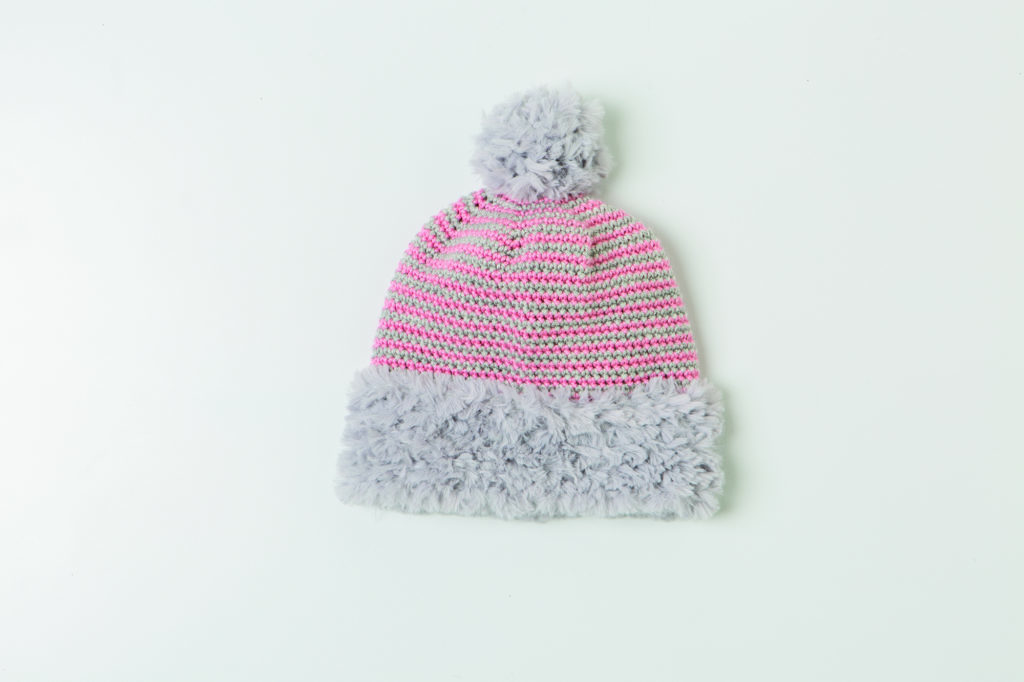
No strings on your pom-pom? That’s okay! You can add your own strings to purchased pom-poms or ones that you make. This is easier when you are using yarn to make your own pom-pom, by using a pom-pom maker, but still possible if you make it with faux fur yarn, like the WeCrochet Fable Fur.
Take a sharp needle, like one of our lace darning needles, and sew a strong thread through the pom-pom, making sure to get a few layers making it secure. From here you would thread it through the top of your hat and then through a button and tie your knot or bow.
Attach a pom-pom: it’s a Snap

Snaps are another great way to add a pom-pom to your hat. By sewing one half of the snap to your pom-pom you can stick the other half out the top hole of your hat. Snap the two parts together and you will have a secure pom-pom that can be taken off whenever you want.
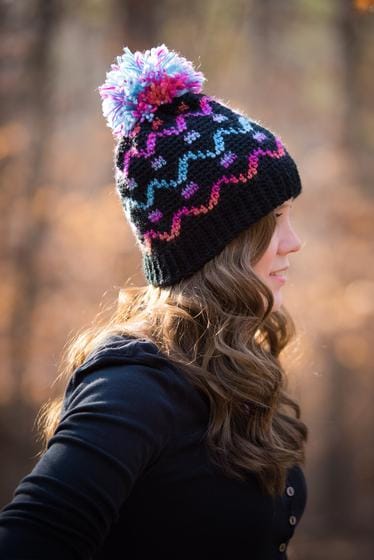
Now that you know how to attach a removable pom-pom, grab one of these 5 crochet hat patterns and get started on your next project!
5 Hat Patterns that use a Pom-Pom
You Might Also Enjoy: 7 Plaid Crochet Patterns to Make
Pin it for later:
